My iOS Development Journey
I started becoming interested in iOS development in 2021 as a way to learn a compiled language. My background at the time was mostly in Python & R, with undergraduate courses in Java and C++. Initially, I used the Swift Playgrounds App because it seemed more approachable than Xcode. As my ideas grew, so did the codebase, so I switched to Xcode and purchased my own developer subscription so I could start sharing my app with friends.
It is possible to share Apps with just Swift Playgrounds. It involves getting the other user to download the Swift Playground App, and then sharing each project with iCloud or as a copy. Then, they can build the code locally on their iPad. Xcode works without a developer subscription, but I found it very difficult to share my Apps without physically building the binary on their device. On the other hand, purchasing a developer subscription gives you access to TestFlight (https://developer.apple.com/testflight/ sharing your beta App with 10,000 people (more or less seamlessly after the testers download the TestFlight App themselves). To me, the $100 a year (or whatever it costs now) is worth it at the point where you may want the option of shipping your app to the App Store. If you never plan to ship, then the pain of manually sharing Apps with friends didn’t justify the price.
After 2+ years of iOS development, I shipped 3 apps to the App Store, each one building on the lessons I learned from the previous. At first, I strictly used SwiftUI which is a beginner friendly, declarative UI language. I gradually gained the confidence to take on UIKit for features not supported by SwiftUI. I used a ton of resources, but Hacking With Swift was by far the most reliable source of high quality instruction. Below, I recount the lessons I learned from the experience.
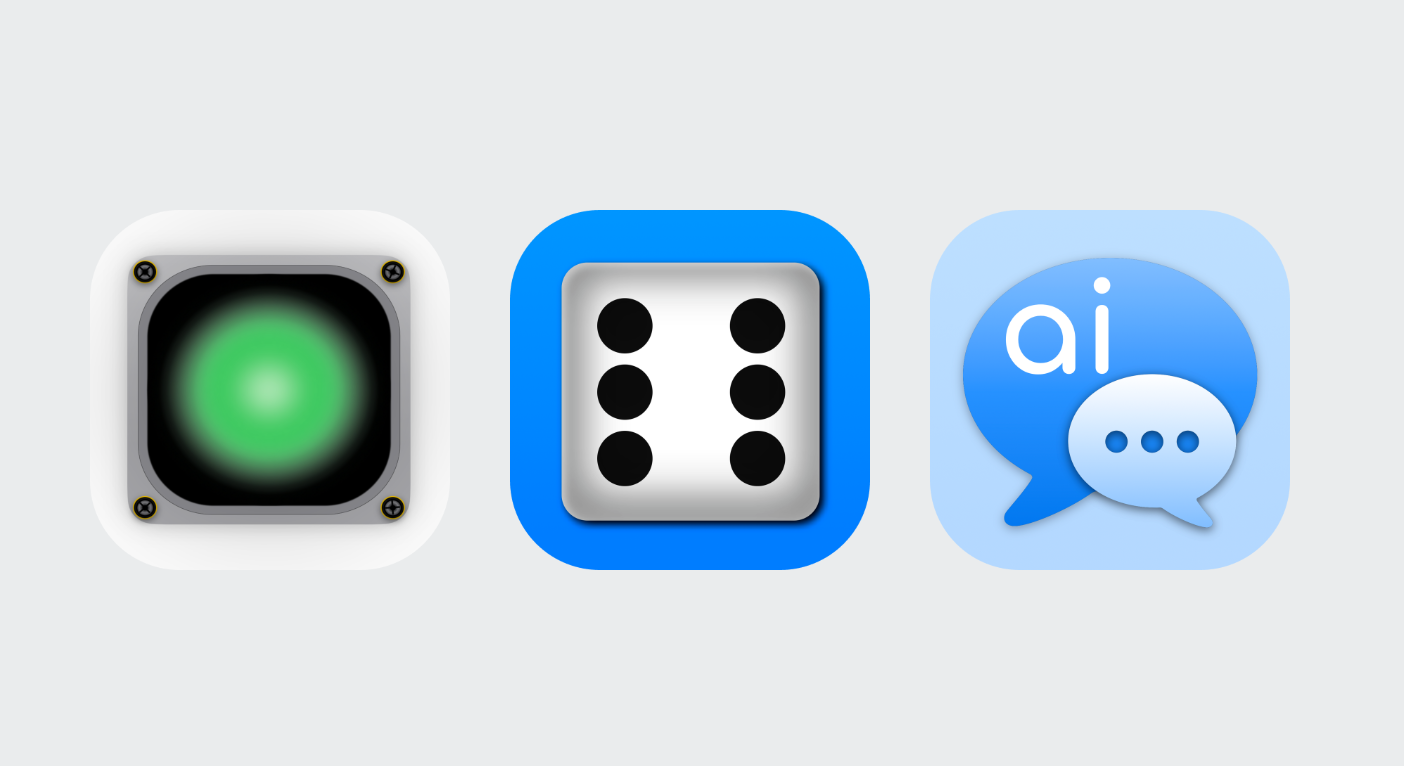
Rail Yard
I had already started a project that used a Raspberry Pi Pico W to host a web server for interacting with hobby train switches through the pico’s GPIO pins. The problem was that, the web interface was really bad. Rather than be limited to what the pico could serve, I decided to convert the web server to a REST API and create an iOS App that can interact with the service.
| Home Screen | Yard Devices | Yard Settings |
|---|---|---|
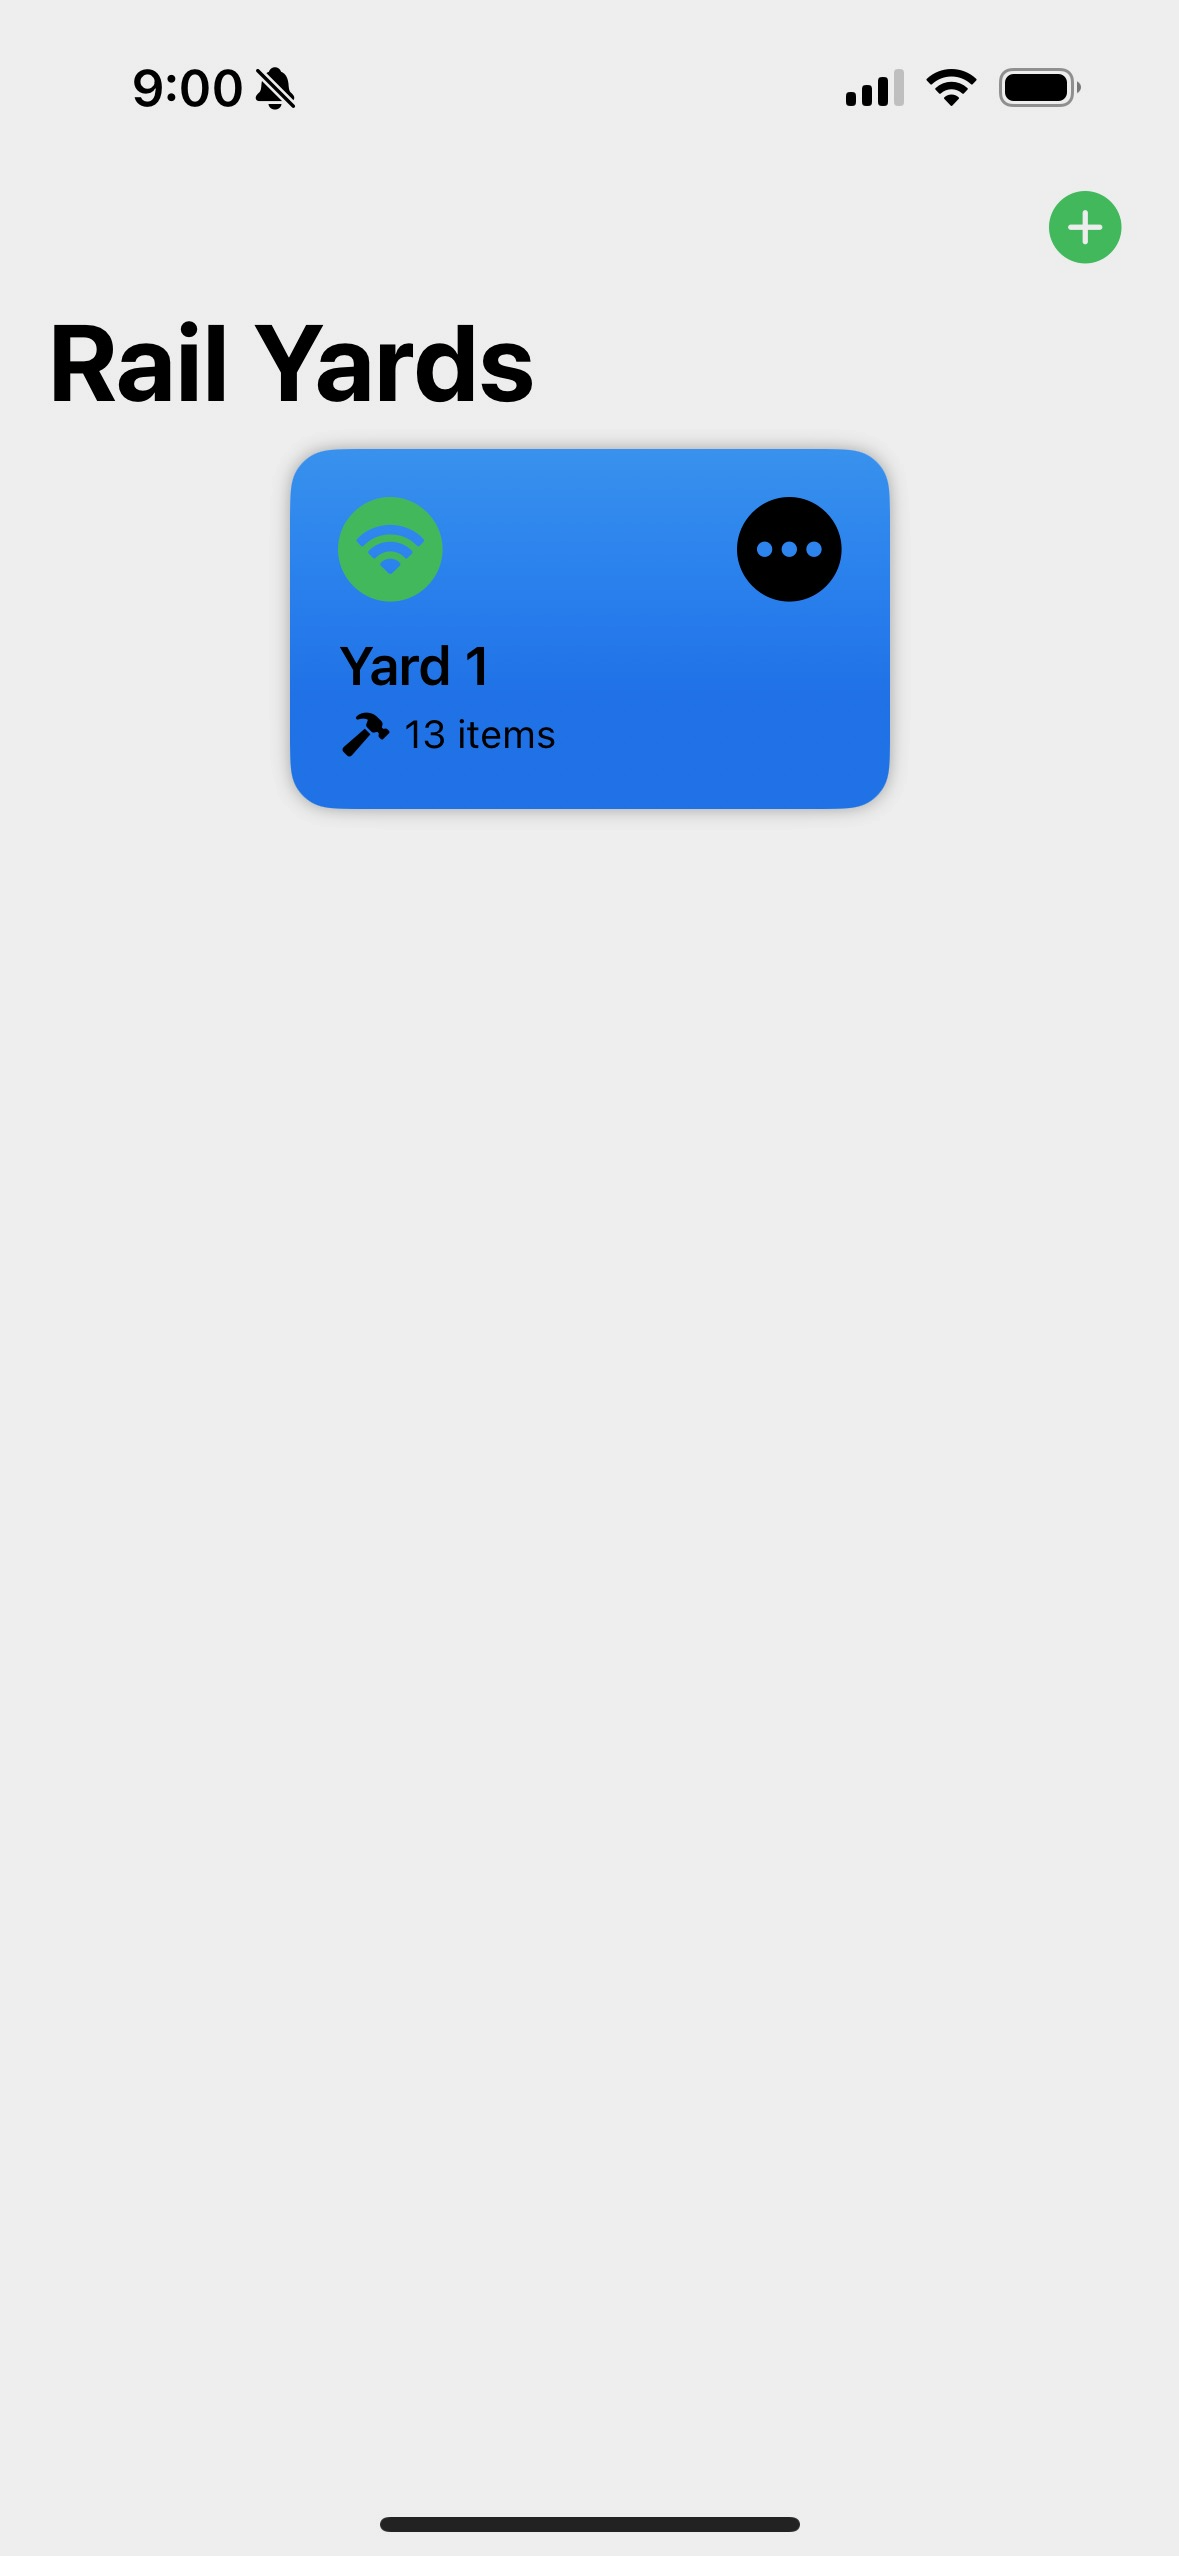 | 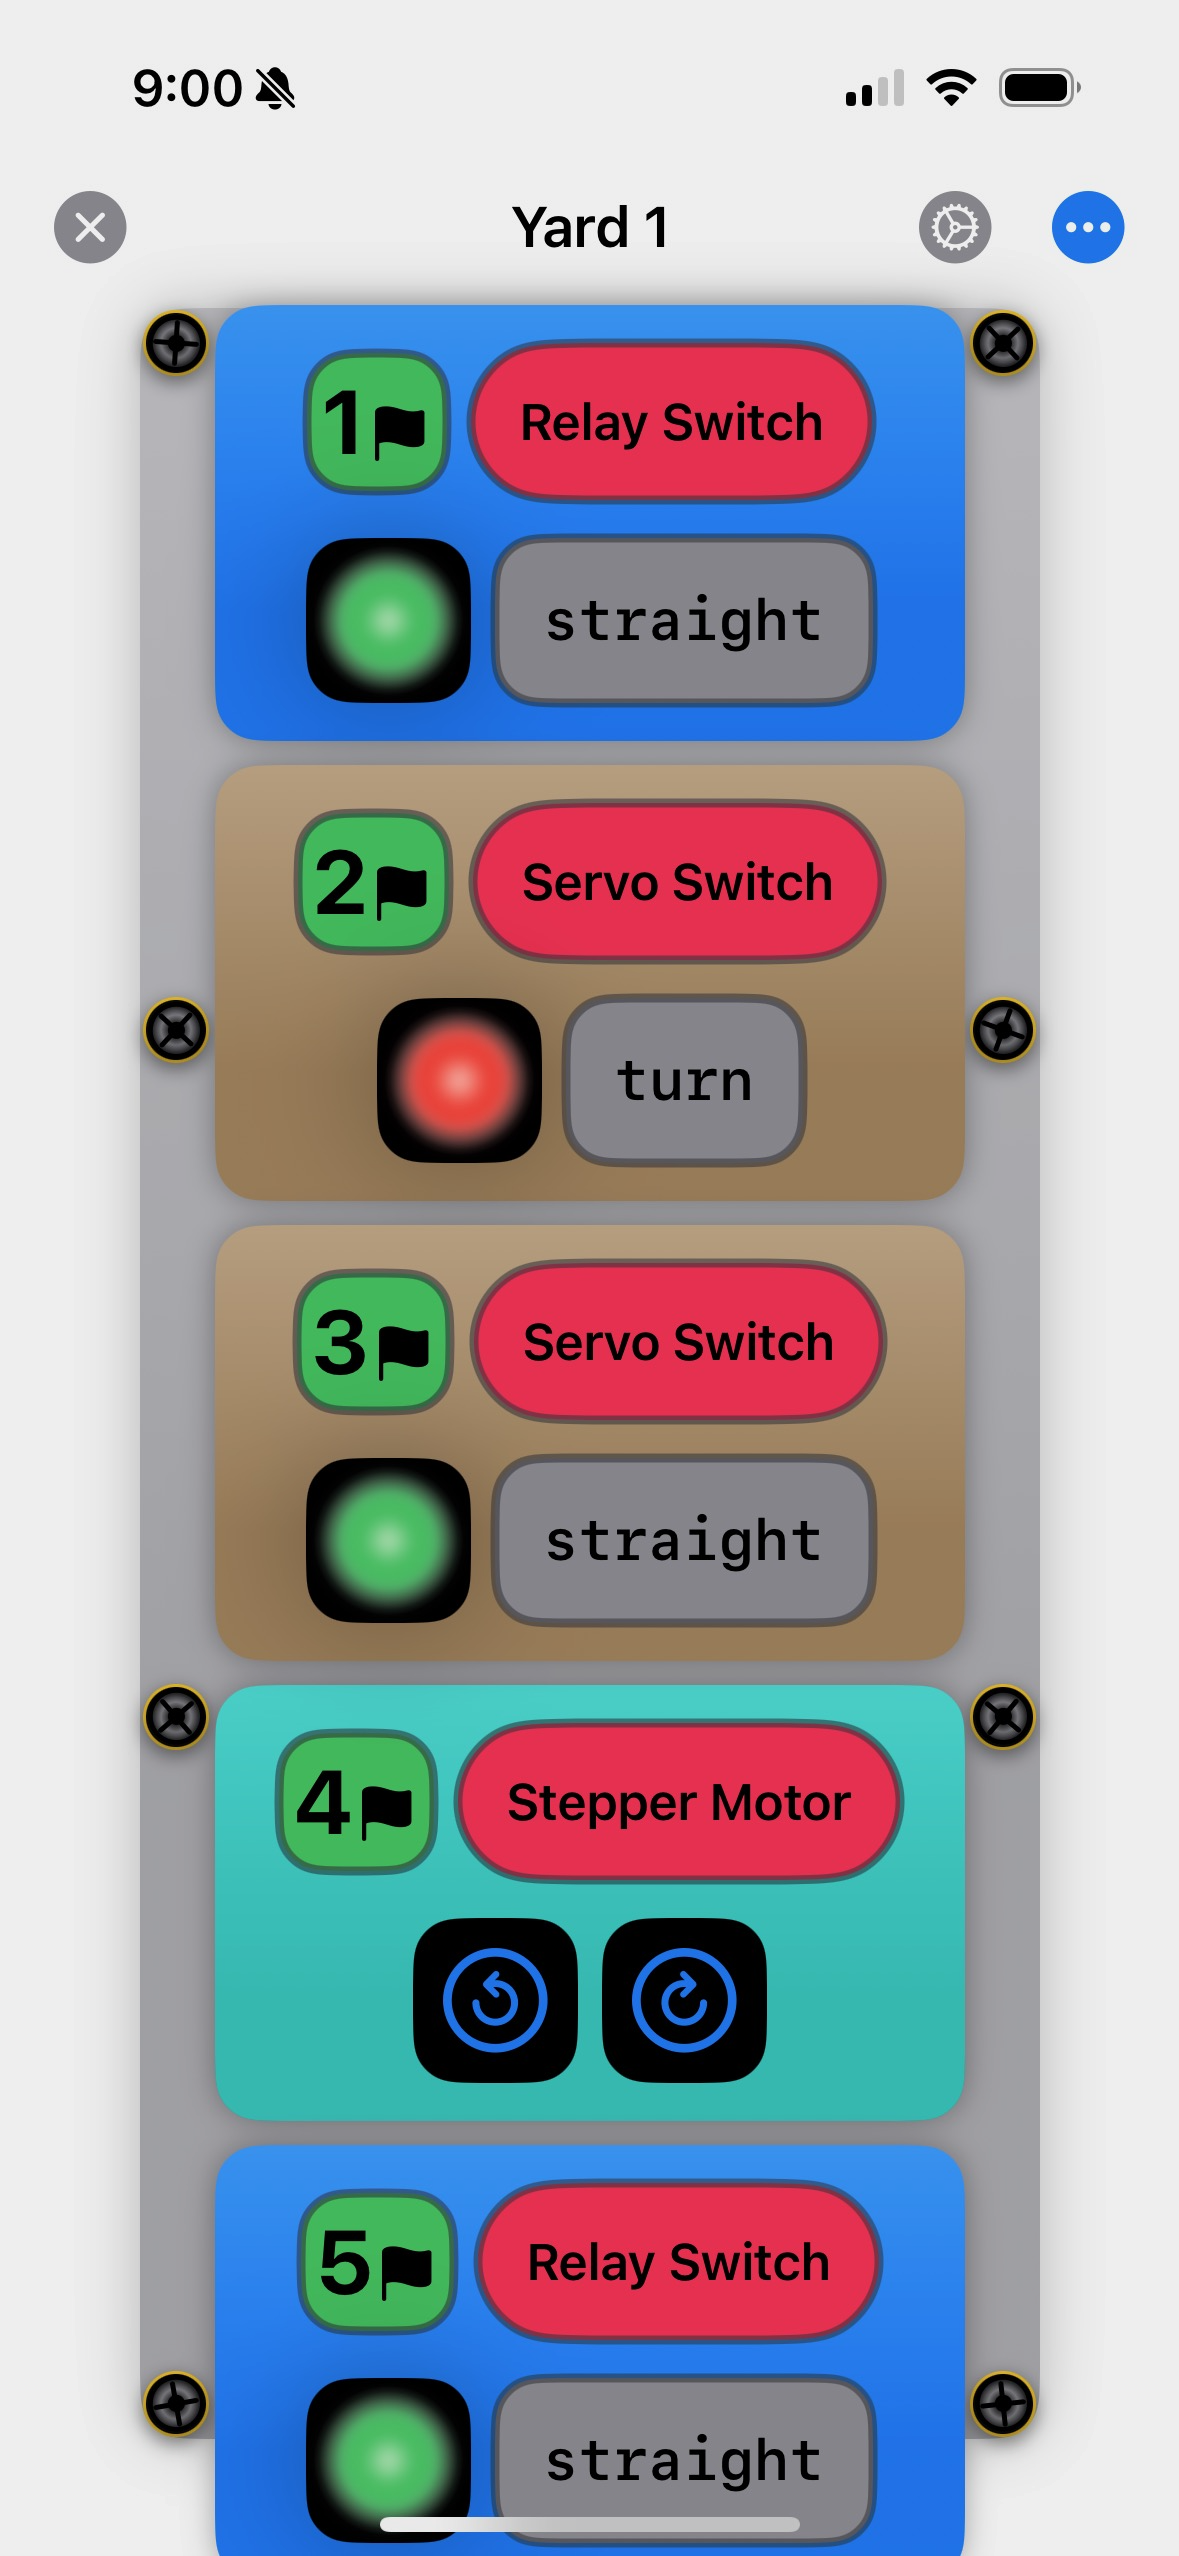 | 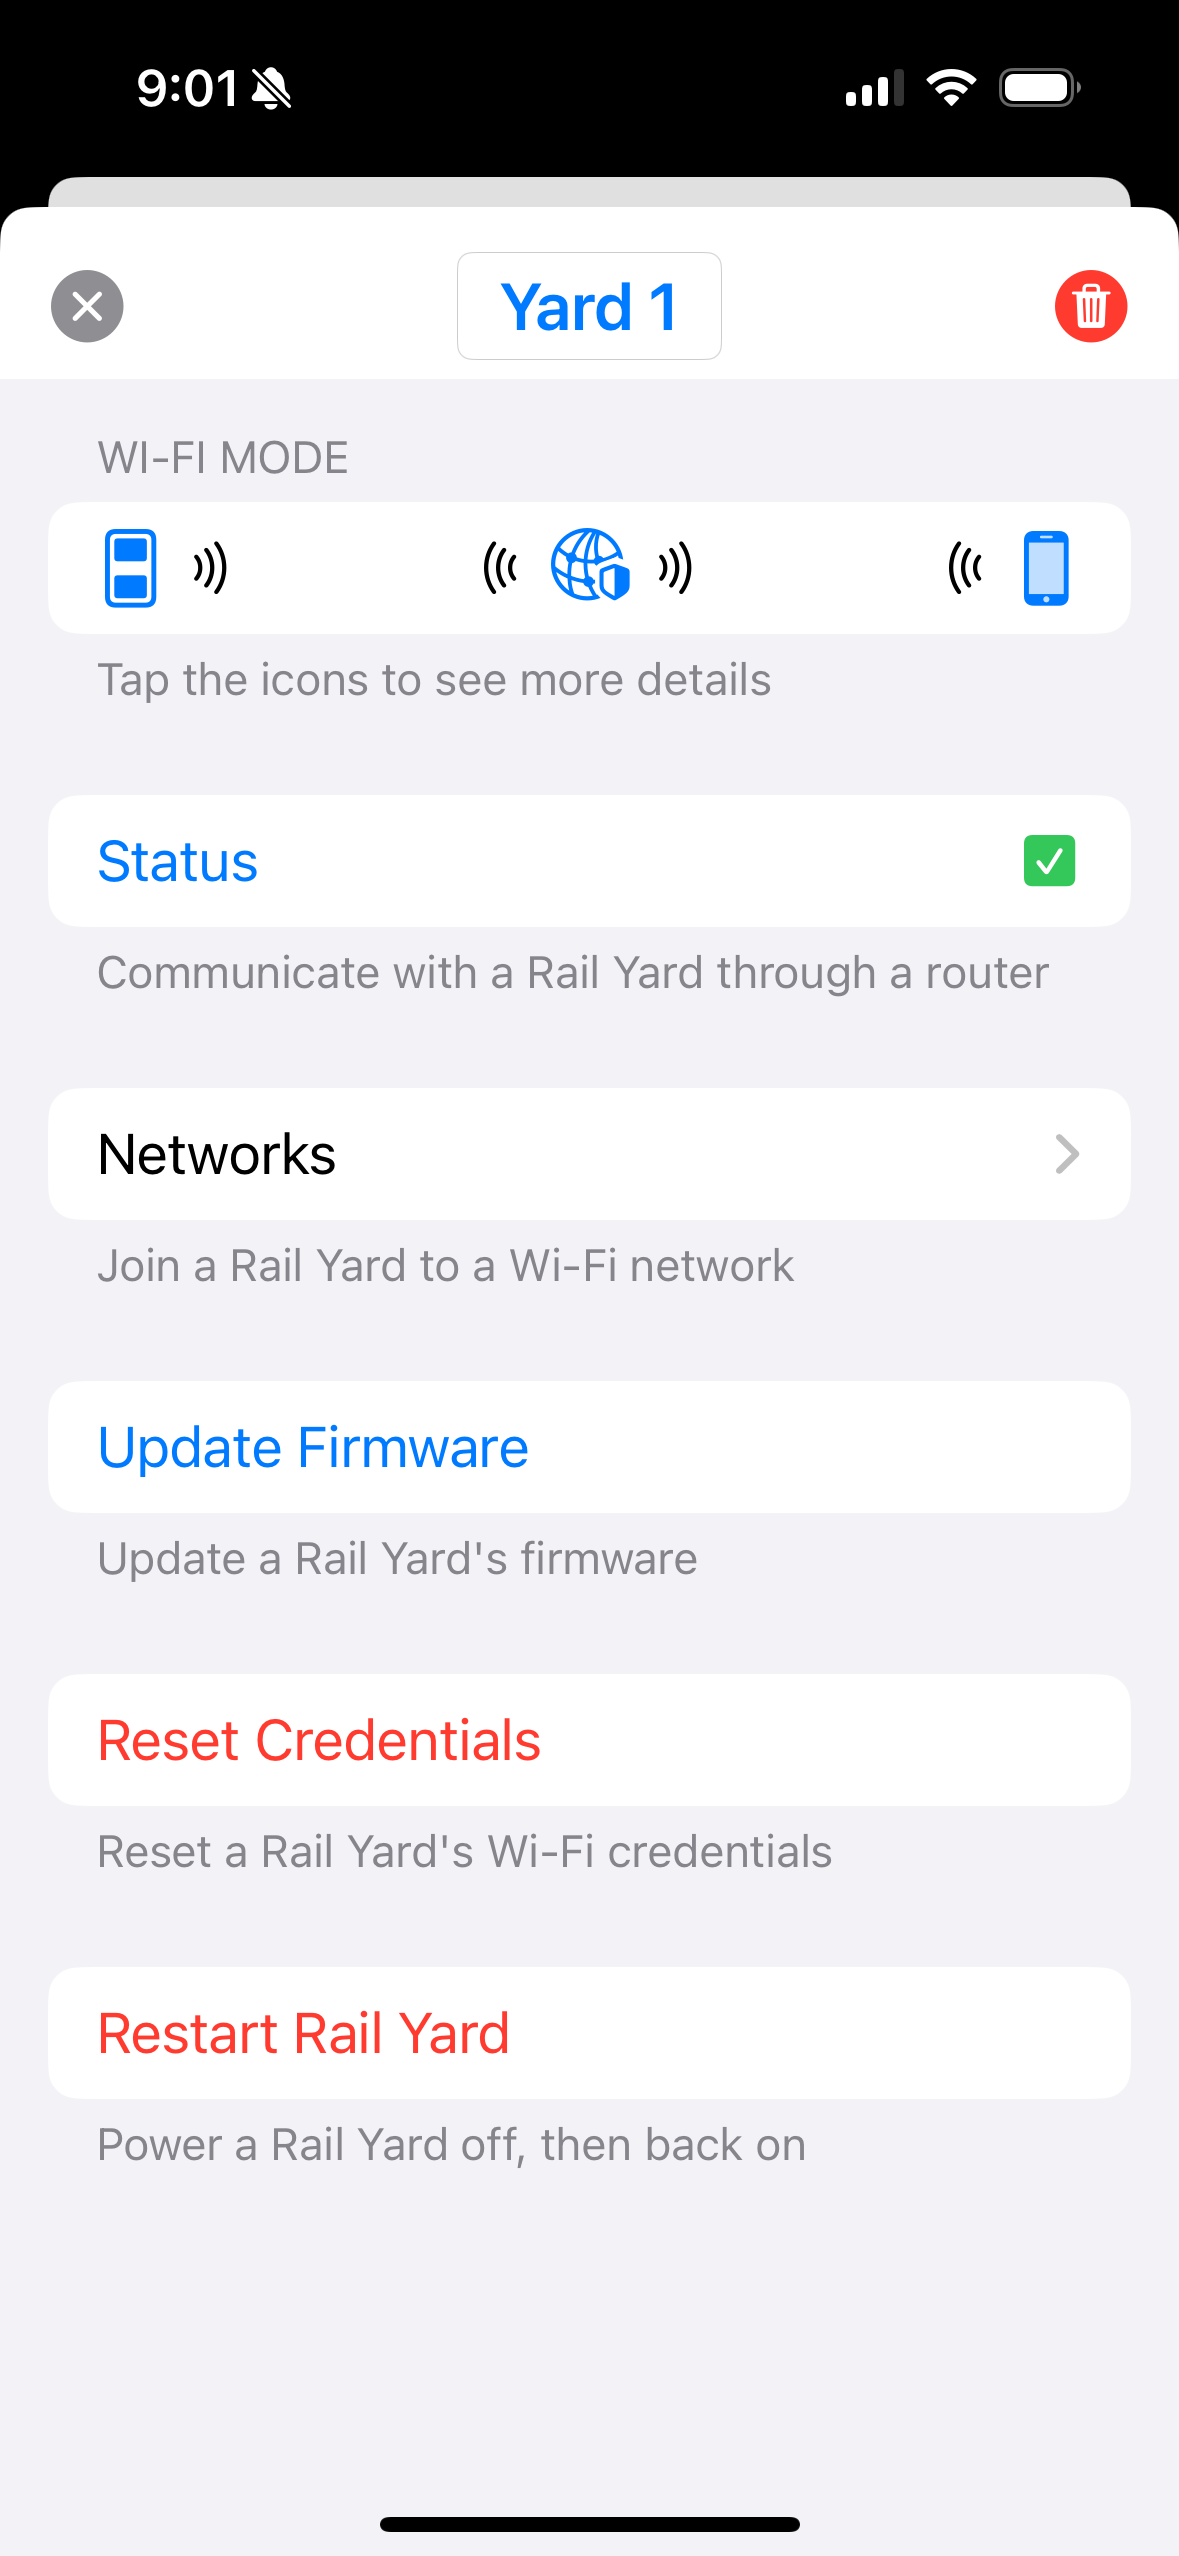 |
Highlights
- Networking was a large component of this App. As such, I relied alot on
URLSession:1 2 3 4 5 6 7 8 9 10
func getURLSession(timeoutIntervalForRequest: TimeInterval = 5.0) -> URLSession { let sessionConfig = URLSessionConfiguration.default sessionConfig.timeoutIntervalForRequest = timeoutIntervalForRequest sessionConfig.timeoutIntervalForResource = 10.0 sessionConfig.allowsCellularAccess = false sessionConfig.waitsForConnectivity = false sessionConfig.networkServiceType = .responsiveData let session = URLSession(configuration: sessionConfig) return session }
I already had a
ObservableObject,DeviceManager, so it was easy to write an extension that called to the various endpoints:1 2 3 4 5 6 7 8 9 10 11 12 13 14 15 16 17 18
extension DeviceManager { func toggleRequest(pinsCSV: String) async { do { guard let url = URL(string: serverSettings.toggleURL + pinsCSV) else { self.recordBadURL() return } var request = URLRequest(url: url,cachePolicy: .reloadIgnoringLocalCacheData) request.setValue("application/json", forHTTPHeaderField: "Content-Type") request.httpMethod = "PUT" let (data, _) = try await getURLSession().data(for: request) let response = try JSONDecoder().decode(DevicesJSON.self, from: data) ... } catch { ... } } }
Where
DevicesJSONis someDecodablestructthat holds the states of GPIO pins. This seemed to work really well, I could use a single object to make a network call and then update the state of itself after receiving data from the server. - Another part of networking is accessing the network itself. Since this was somewhat of an IoT project, I decided to allow users to connect the pico to their home network through the App. For this, I wanted the same feel as the Settings App, where you can scan for networks, select one, and enter some credentials.
| Network Scan | Credentials |
|---|---|
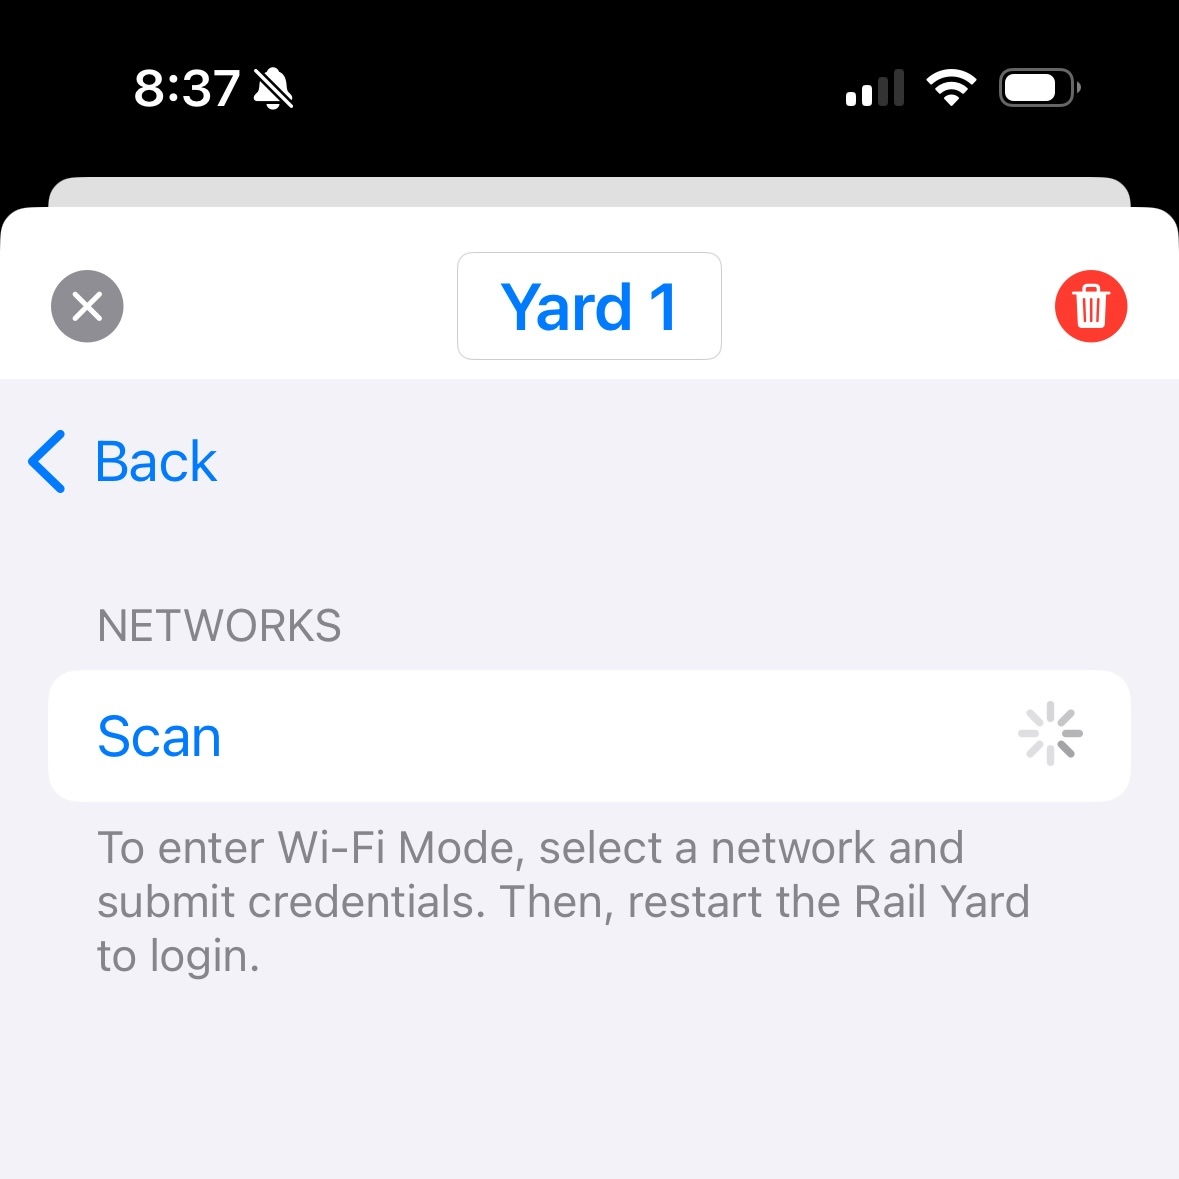 | 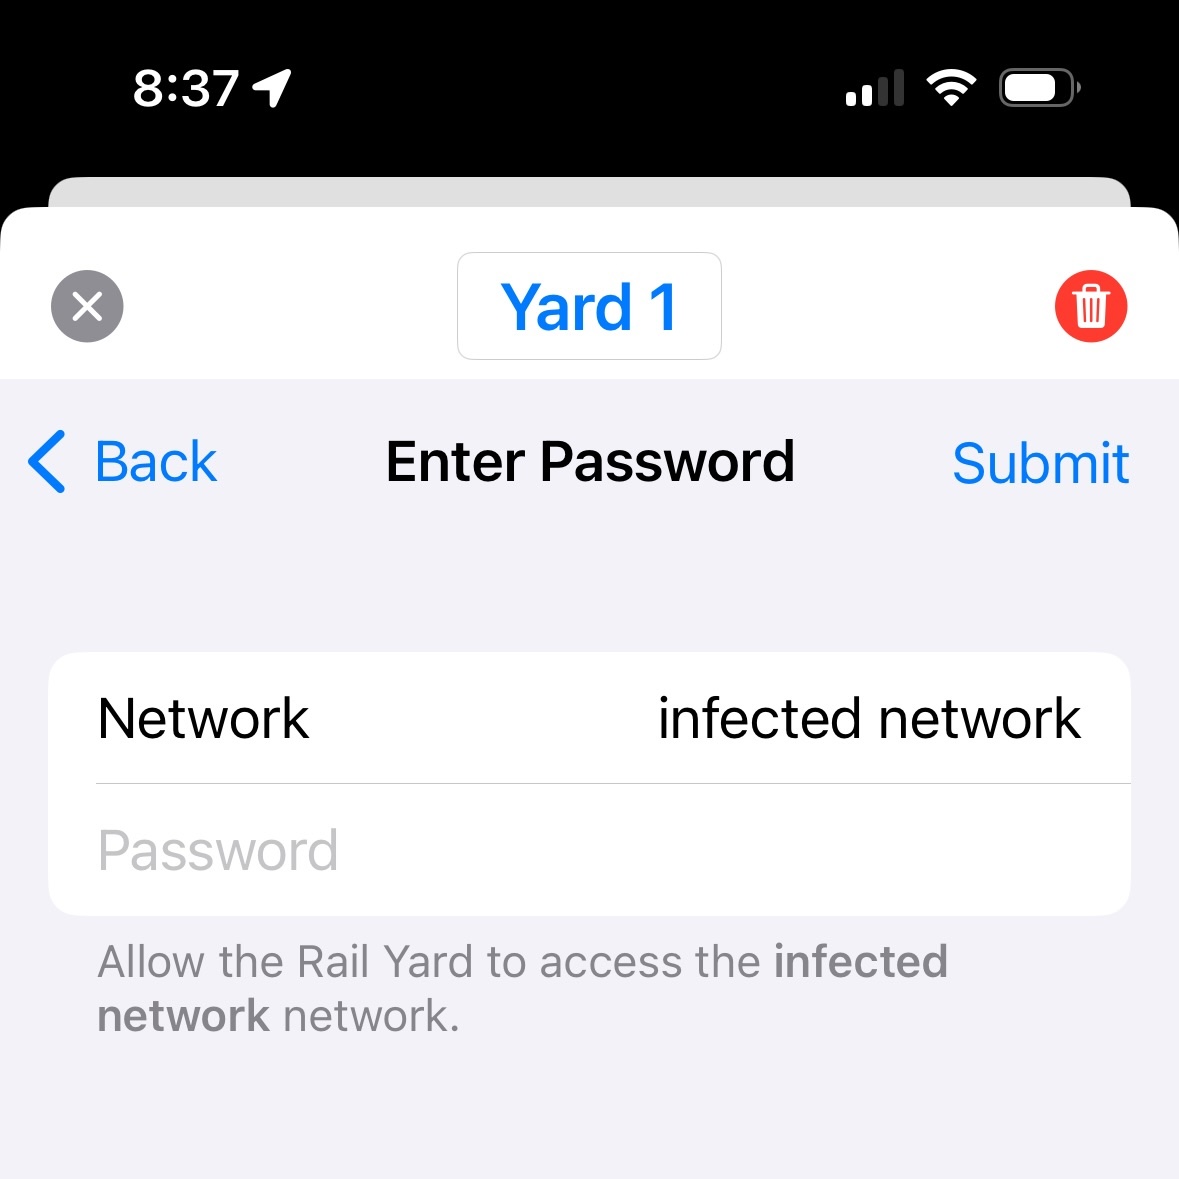 |
Scanning the network on the pico was straightforward, but I needed a way to know if the App was on the pico’s lan network (meaning the pico still needed credentials) or if the App was on the same home network as the pico, indicating credentials had already been passed. Inside my DeviceNetworkManager class, I used an API offered through NEHotspotNetwork:
1
2
3
4
5
6
func associatedSSIDs(completion: @escaping ((_ result: [String]) -> Void)) {
    NEHotspotNetwork.fetchCurrent() { (network) in
        let networkSSID = network.flatMap { [$0.ssid] } ?? []
        completion(networkSSID)
    }
}
To fetch the connected SSID and check if this is the pico or not. Then, I could update the UI accordingly. After a couple failed attempts, I learned that you need to invoke LocationManager for this scan to work:
1
2
3
4
5
6
7
8
9
10
11
12
13
14
15
16
17
18
19
20
21
func getNetworkInfo(hostname: String) {
    // Start location updates in preparation for capturing network information.
    LocationManager.shared.startLocationManager()
    DeviceNetworkManager.shared.associatedSSIDs(completion: { associatedSSIDs in
        if !associatedSSIDs.isEmpty {
            LocationManager.shared.stopLocationManager()
            let associatedSSID = associatedSSIDs[0]
            withAnimation {
                if hostname == associatedSSID {
                    self.connectionType = .accessPoint
                } else {
                    self.connectionType = .station
                }
            }
        } else {
            withAnimation {
                self.connectionType = .none
            }
        }
    })
}
After which, I could reliably detect if was connected to the pico through lan or the home network.
Lowlights
- The biggest learning curve for me was updating the UI on the
MainThread. For front end engineers, this is probably a well known concept, but coming from Python, I did not have this understanding. The trick is to avoid things like this:1 2 3 4 5 6 7 8 9 10 11 12 13 14
func networkRequest() async { do { guard let url = URL(string: serverSettings.networkURL) else { self.recordBadURL() return } let (data, _) = try await getURLSession().data(from: url) let response = try JSONDecoder().decode(NetworkJSON.self, from: data) // BAD Update UI component self.name = response.name } catch { ... } }
And always make UI updates using
DispatchQueue.main.asyncwhen on a background thread:1 2 3 4 5 6 7 8 9 10 11 12 13 14 15 16
func networkRequest() async { do { guard let url = URL(string: serverSettings.networkURL) else { self.recordBadURL() return } let (data, _) = try await getURLSession().data(from: url) let response = try JSONDecoder().decode(NetworkJSON.self, from: data) // GOOD Update UI component DispatchQueue.main.async { self.name = response.name } } catch { ... } }
I spent many hours refactoring code only to find that making network calls would not update the UI! It wasn’t until I moved things to the proper
DispatchQueue.main.asyncdid things start working smoothly. This seems very basic in retrospect, but I guess thats what learning is all about.
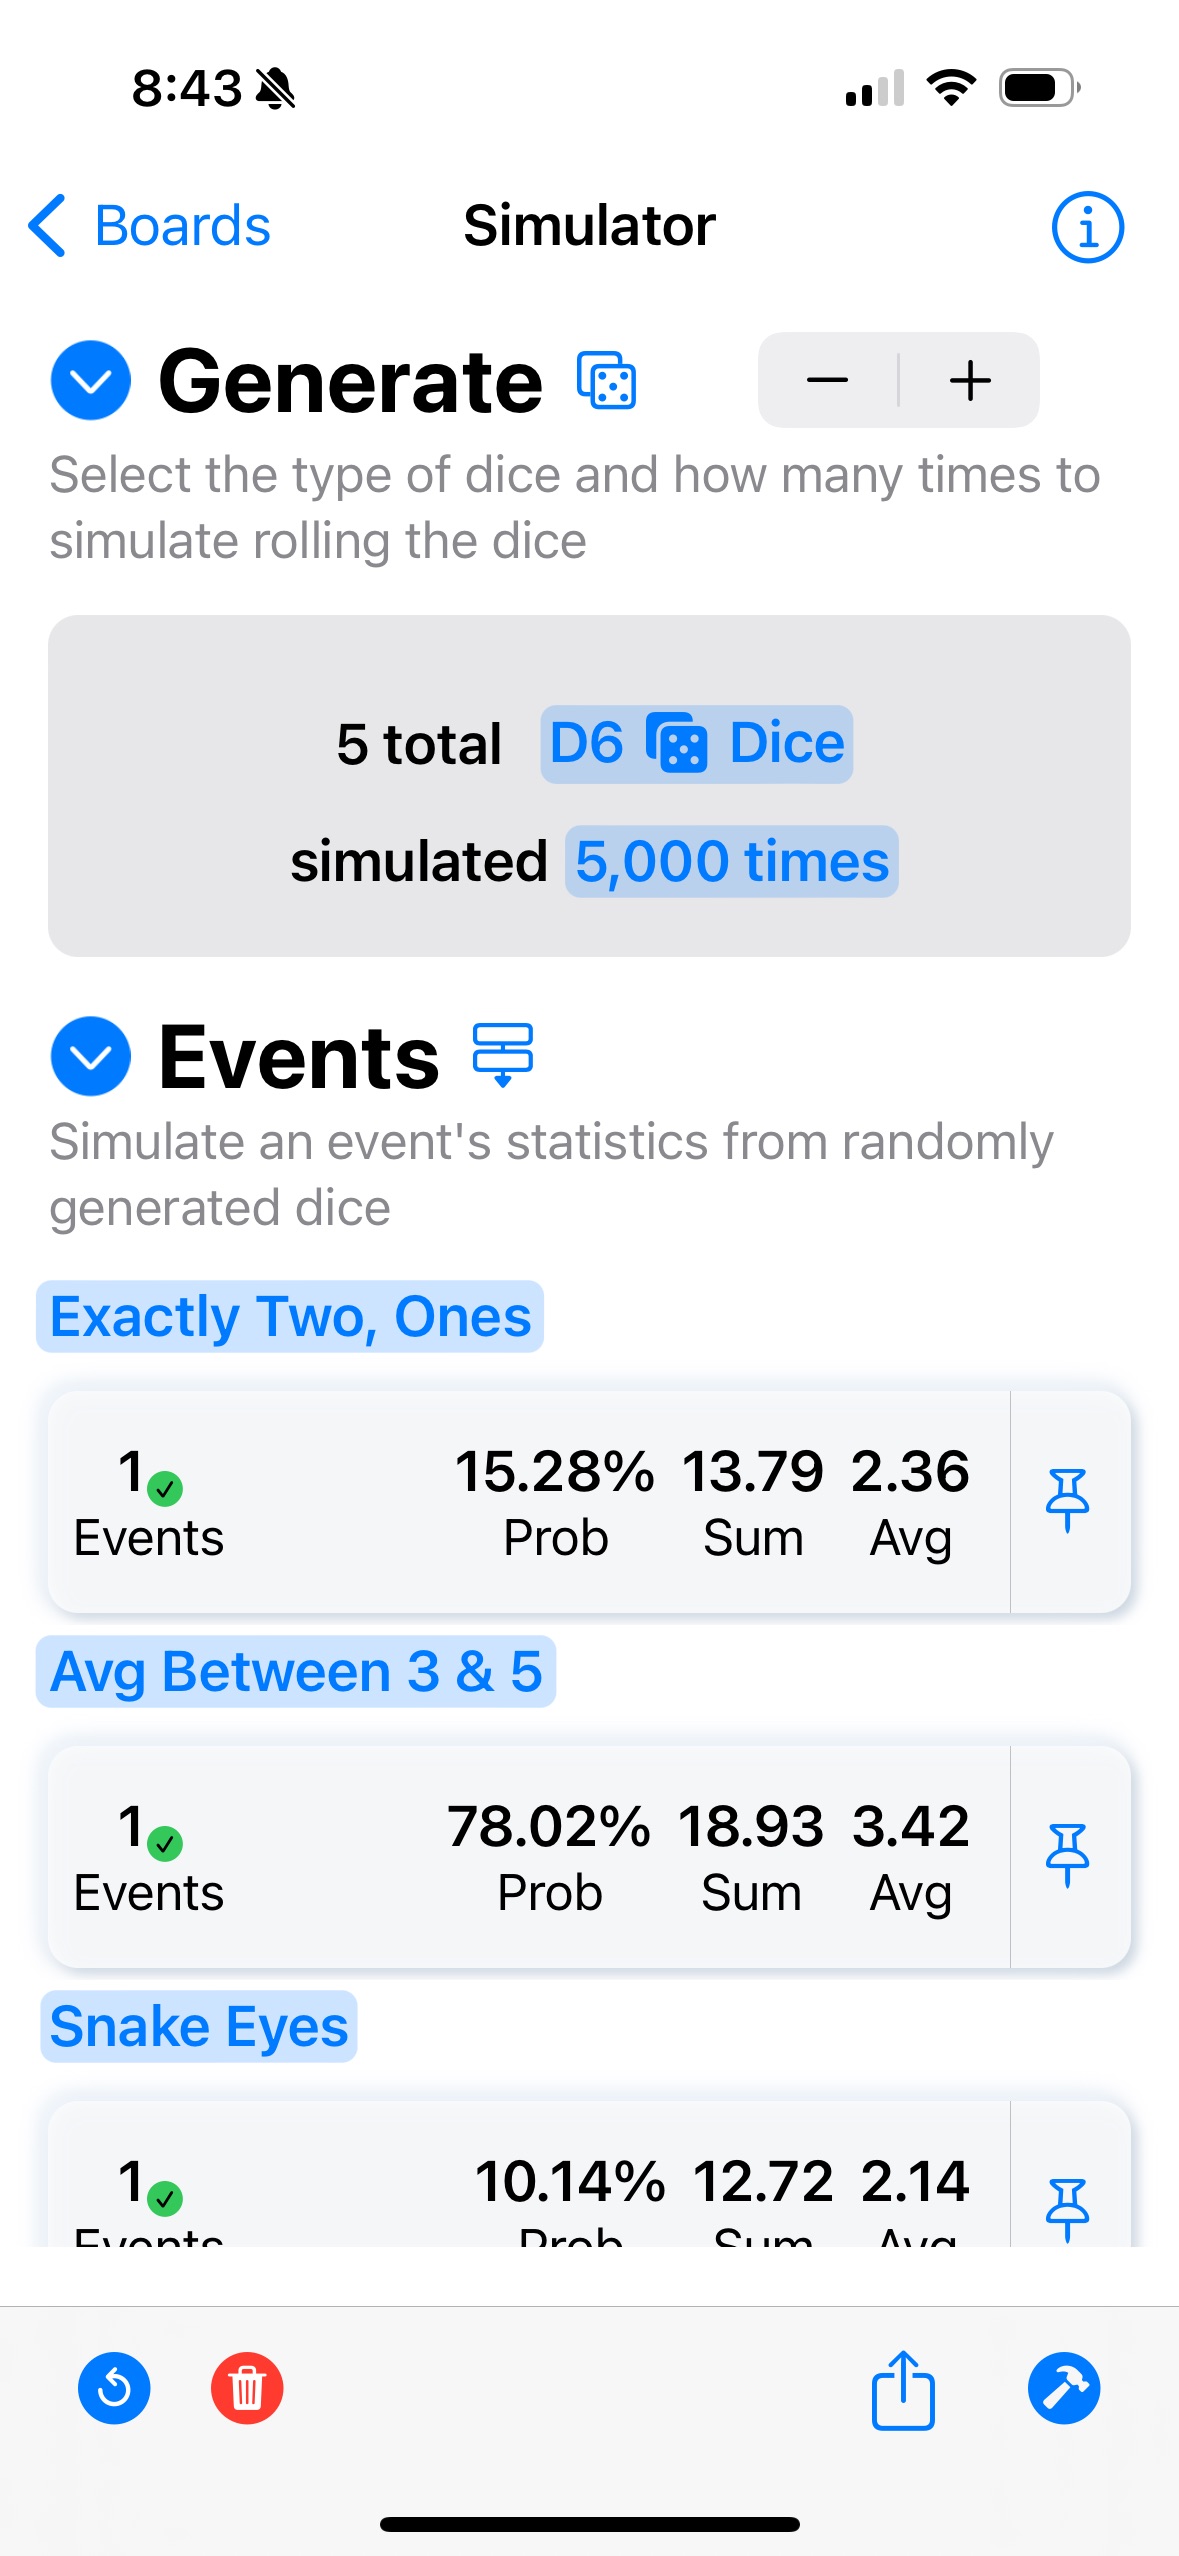
Pro Roller
For my next App, I wanted to make a general purpose dice simulator capable of playing any dice game as well as simulating the next state of a game. I knew that I wanted people to also be able to play with each other, so I needed a real-time multiplayer.
| Game Boards | Simulations | Simulation |
|---|---|---|
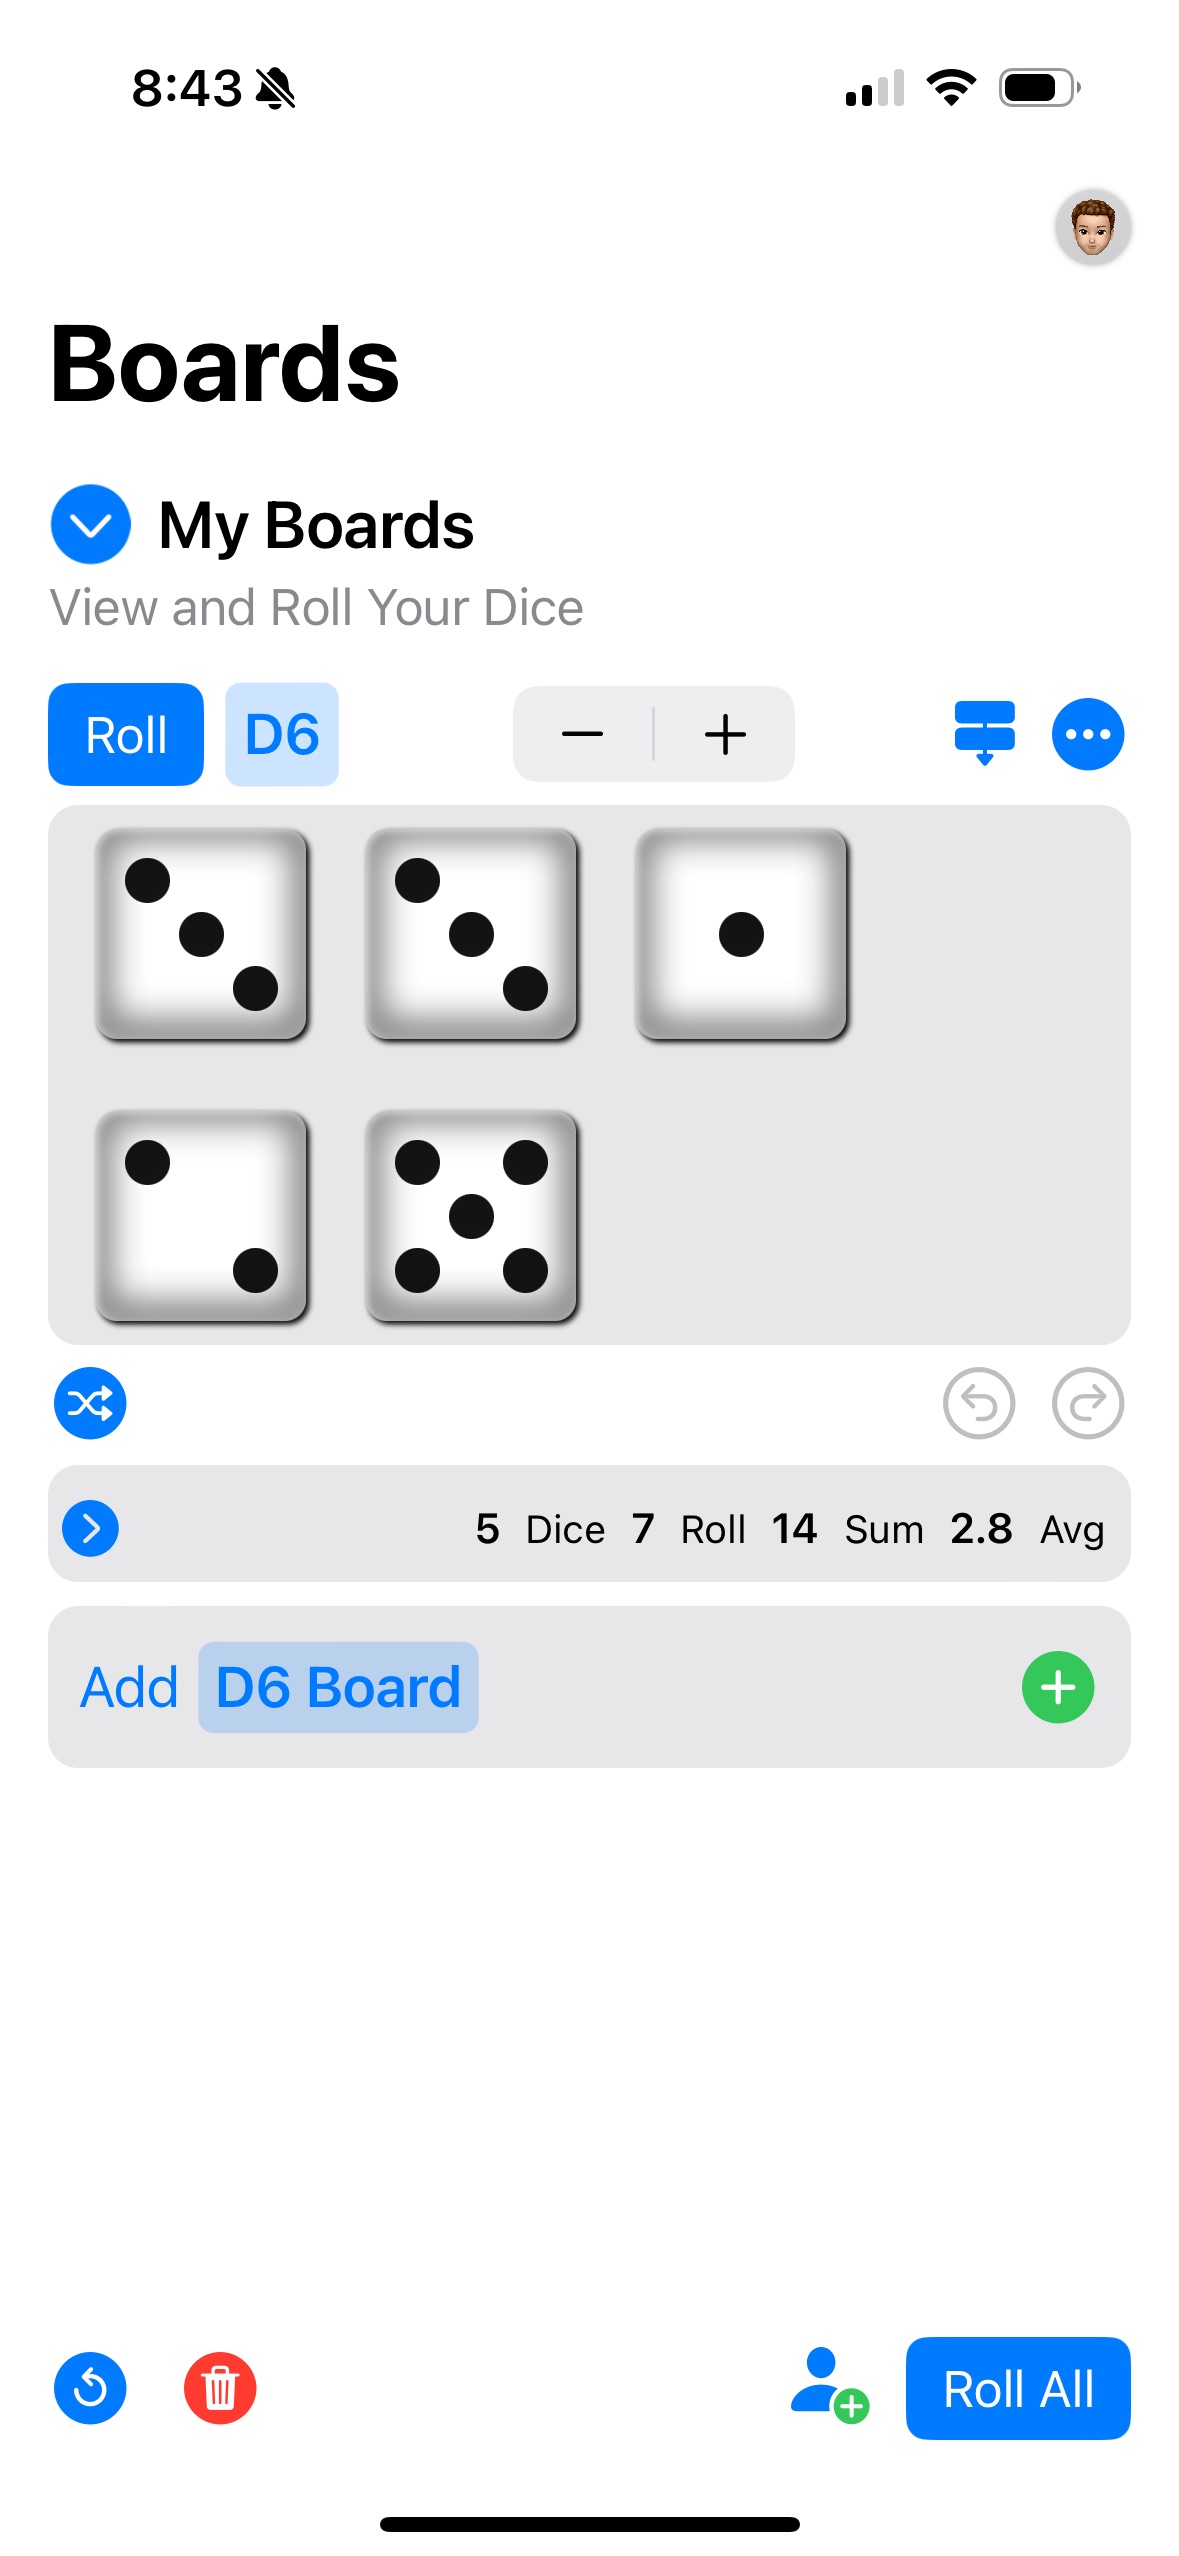 |  |  |
Highlights
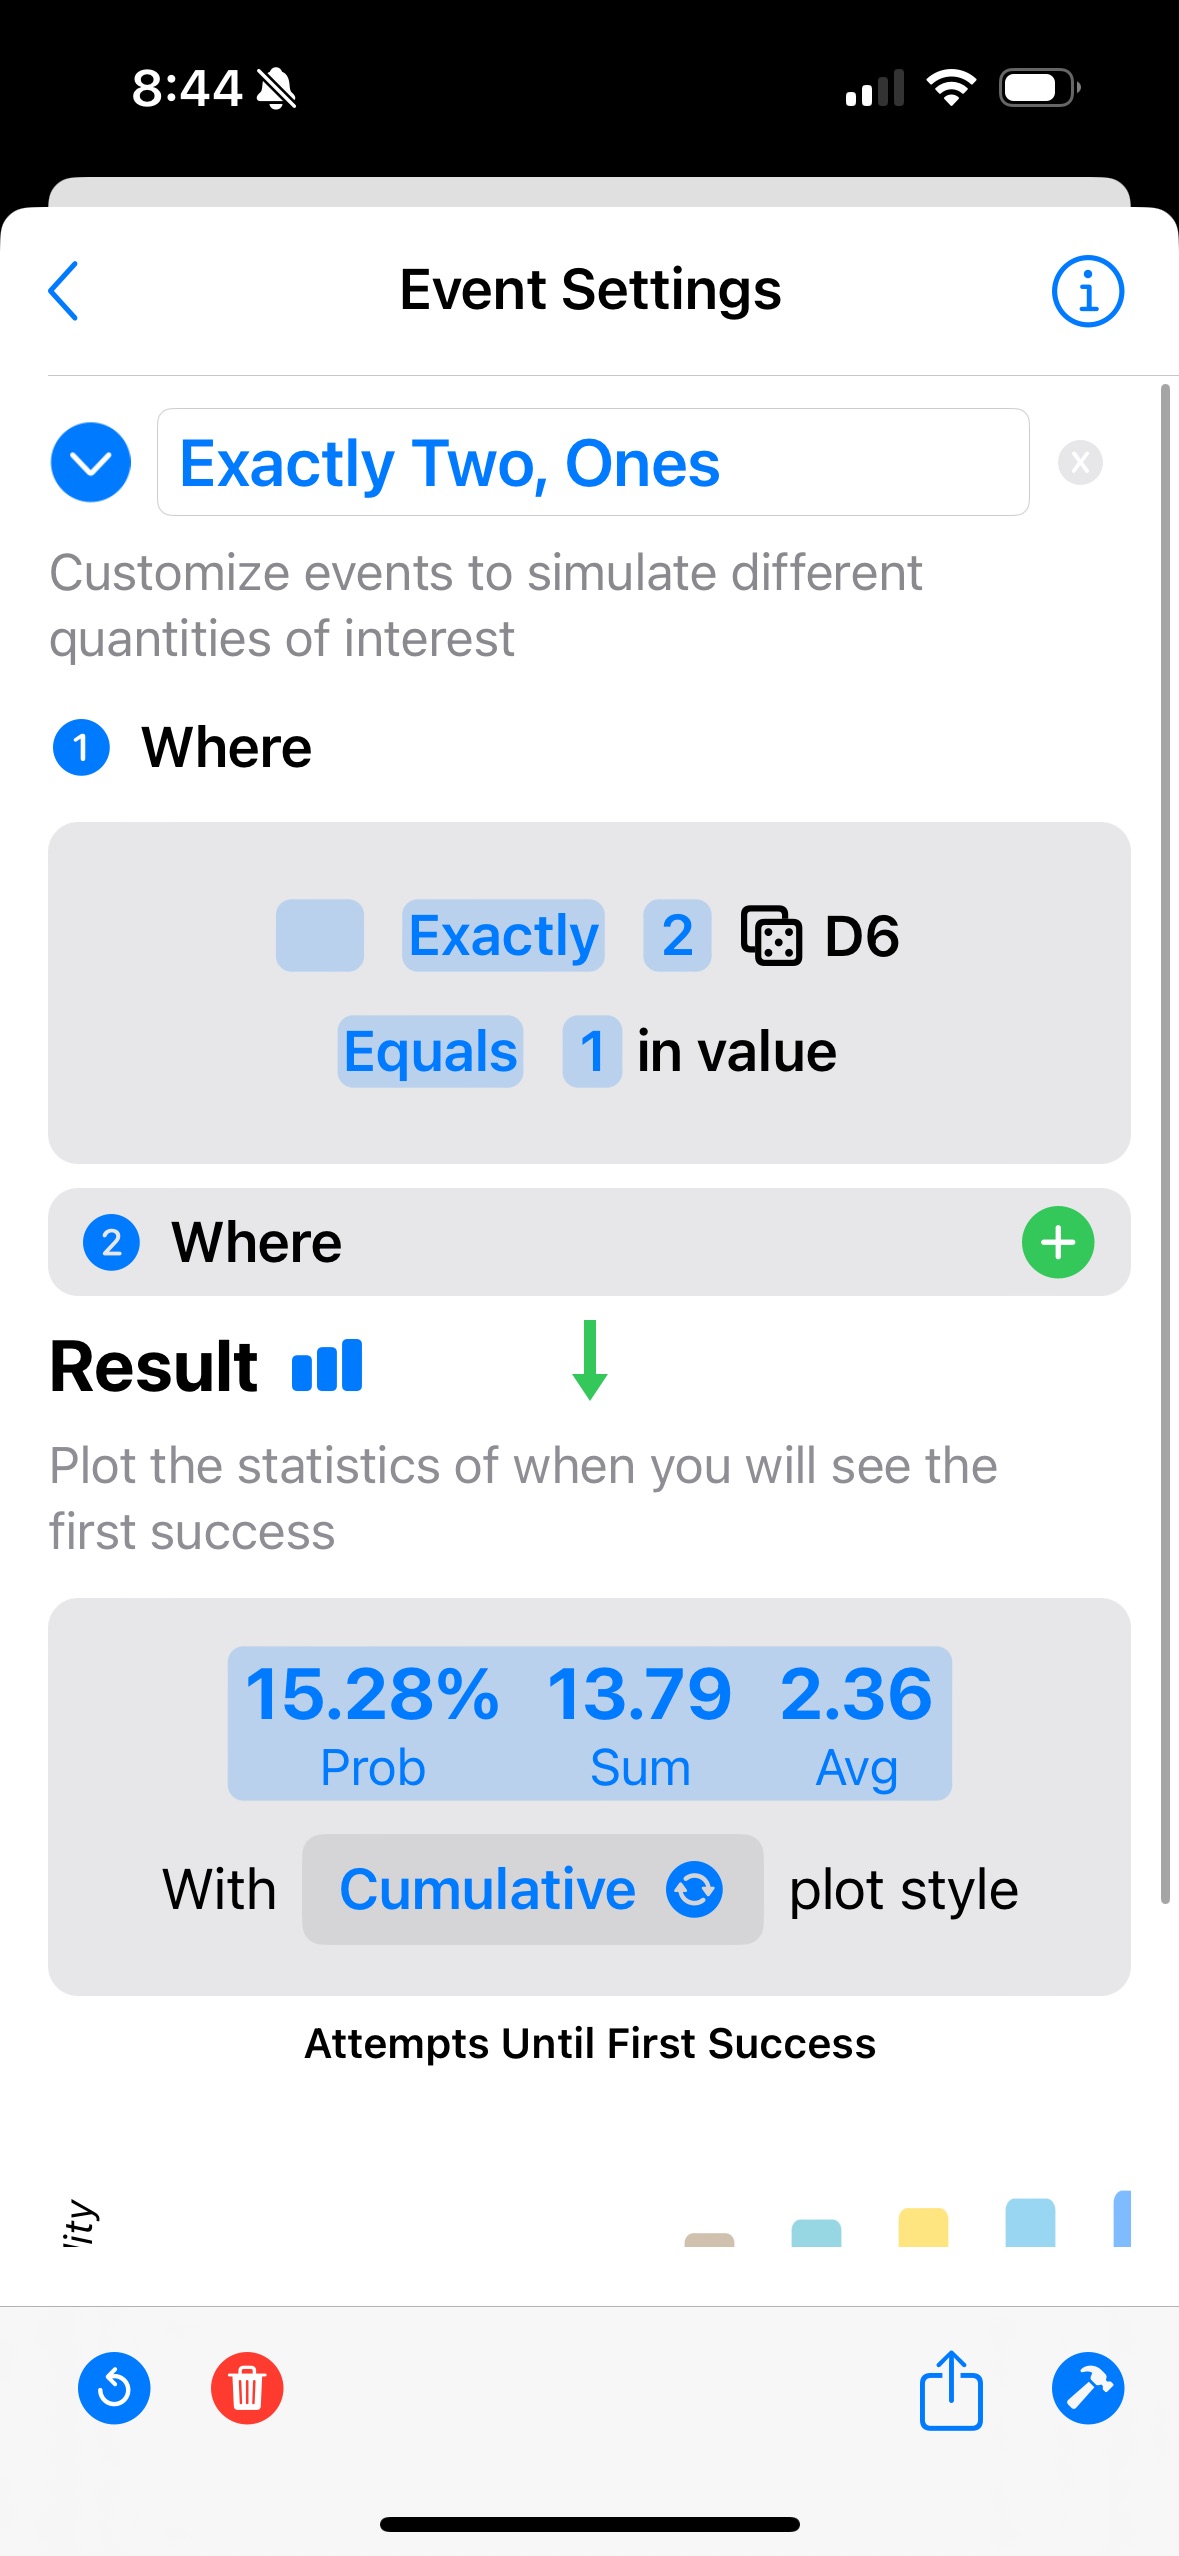
- For the simulations, I created a
SimulationManagerthat allowed users to specify custom “simulations” based on the state of the board. I took inspiration from the Shortcuts App, which allows you to build a flowchart-style dependency of actions. Instead of dependencies, the simulation should take a conjunctions of various “Where” clauses like “Exactly 2 D6 Dice Equals 1 in Value” or “Sum of 3 D6 Dice Less Than Or Equal To 5”. The basic components of a where clause are:
1
2
3
[Optional<Reduction>] [Bound] [Quantity] [DiceTypes] [Operator] [Value]
[Optional<Conjunction>] [Optional<Reduction>] [Bound] [Quantity] [DiceTypes] [Operator] [Value]
...
In Swift, this looks like:
1
2
3
4
5
6
7
8
9
10
11
12
13
14
15
16
17
18
19
struct Event {
    // -----------------------------------------
    // Occurrence: At least 3 D3 = 4
    // Reduction: Exactly 3 D3 sum to exactly 10
    // Subset Reduction: At least 3 D3 sum to less than 10
    // -----------------------------------------
    // Reduction Clause
    var reduction: Reduction?
    // Dice clause
    var bound: Bound?
    var quantity: Int
    var dice: DiceTypes?
    var comparison: Comparison?
    // Dice values to compare
    var value: Int
    var values: Between
    // Comparison to previous event
    var conjunction: Conjunction?
}
With a simulation specified, I then had to simulate the game board several times (5,000 by default), taking any frozen die into account, and calculate the proportion of times the scenario had occurred. In statistics, this is a Monte Carlo Estimate:
\[\mathbb E_{x \sim p} \approx \frac{1}{T}\sum_{t=1}^T f(x^t)\]Replacing $f(x^t)$ with an indicator function checking for a scenario, $x^*$, to compute a long-term frequency:
\[f(x^t) = \mathbb I\{ x^t = x^* \}\]Swift is pretty fast, even when simulating 10,000 rolls with up to 10-15 scenarios in DispatchQueue.global(qos: .userInteractive).async to avoid UI lockups.
- Multiplayer required the use of
GameKitwhich is made alot easier withGameKitUI. Once a player was authenticated:
1
2
3
4
5
6
7
8
9
10
11
12
13
14
GKLocalPlayer.local.authenticateHandler = { viewController, error in
    if let _ = viewController {
        return
    }
    if let error = error {
        print(error.localizedDescription)
        return
    }
    withAnimation {
        if let player = self.gkManager.gkLocalPlayer {
            self.gkManager.loadImage(player: player)
        }
    }
}
You can show GKGameCenterView which shows a standard GameKit view. Or, you can allow users to create new matches:
1
2
3
4
5
6
7
8
9
10
11
12
GKMatchmakerView(
    minPlayers: GKManager.minPlayers,
    maxPlayers: GKManager.maxPlayers,
    inviteMessage: "Let's Share Pro Roller Boards!",
    matchmakingMode: .inviteOnly
) {
    self.showMatchMaker = false
} failed: { (error) in
    self.showMatchMaker = false
} started: { (match) in
    ...
}
Which synchronizes seamlessly with any GKMatchManager you have set up. The only sticking point for me was preventing the real time game from stopping due to inactivity. I found it necessary to poll from my GKManager (which adds ObservableObject behavior to GKMatchManager) when a game was active:
1
2
3
4
5
6
7
8
9
10
11
12
13
14
15
16
17
18
19
20
21
22
23
24
25
26
27
28
extension GKManager {
    public func pollMatch() {
        if let match = self.gkMatch {
            DispatchQueue.global(qos: .background).async {
                do {
                    try match.sendData(
                        toAllPlayers: Data(GKManagerMessage.poll.rawValue.utf8),
                        with: .unreliable
                    )
                } catch {
                    print("Ping Error:\n\(error.localizedDescription)")
                }
            }
        }
    }

    func pollStart() {
        timer.invalidate()
        timer = Timer.scheduledTimer(withTimeInterval: 10, repeats: true) { _ in
            self.pollMatch()
        }
    }

    func pollStop() {
        timer.invalidate()
        timer = Timer()
    }
}
Which seemed a little hacky, but worked.
Lowlights
As I kept adding more content to the App (Dice boards, simulator, custom simulator events, multiplayer, …) my UI became more and more complicated to understand. Most of the feedback I got from friends & family was that the App should be simple to understand from a quick glance, without too many options. Once I explained how it worked, we could use it for family games of yahtzee. Although keeping the score was always a bit of a problem.
I struggled converting my
GKManagerto aGKTurnBasedEventListenerto enable turn based games. Things never seemed to synchronize correctly and eventually I gave up the effort. The other problem with starting aGKTurnBasedMatchmakingMatchmakerViewis that the game needs to have a specific format, opposed to theGKMatchmakerViewwhich could support any game that involves dice rolling.
aiMessages
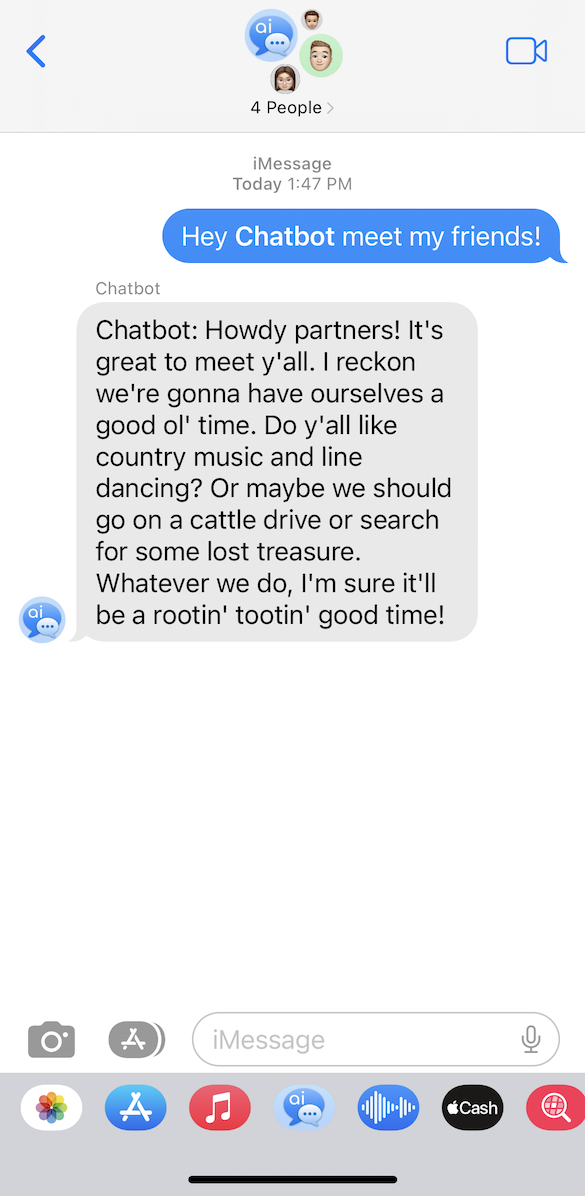
This was by far my most grand adventure. I teamed up with my buddy @Luke Carani to make an App that did two things:
- Bring the “Large Language Model” experience to the Messages App.
- Bring photo-realistic Generative AI to an iMessage Extension App.
This pairing, we believed, would allow users to interact with multiple Generative AI modalities with iMessage:
| Text-to-Text | Text-to-Image | Image Editing |
|---|---|---|
 |  |  |
Highlights
We used Firebase and as such, took on a dependency to use TypeScript. @Luke Carani handled the backend development, doing things like: keeping a history of chat conversations, managing the credit balance for users, making requests to vendor APIs, managing image storage, and more. I would say the experience on Firebase was pretty good, it’s a low friction platform that allows you to share state pretty easily between a backend database (Firestore db in our case). We also extensively used Cloud Functions for custom logic of how the front end communicates with the backend service. He has a full post on the backend service, here.
For purchases & payments, we opted for Revenue Cat. This dramatically simplifies using the
StoreKitAPI, which at the time of authoring was overly complicated to learn. Also, it allows us to specify webhooks which integrates with Firebase pretty nicely. Thus, when a purchase was made, the customer’s balance could be increased automatically in Firestore, which then synchronizes with the App.The one open source dependency we took was
KingFisherby @onevcat to manage the user’s images. This was an absolute game changer. Not only does it offer a caching tier so that images are downloaded a minimal amount of times from our cloud storage, but it is compatible with SwiftUI and includes pre-made views to smoothly transition in a loading image. I really can’t say enough for this library, it saved a ton of time and effort.The iOS App itself was a breeze compared to Rail Yard or Pro Roller. It had three main responsibilities:
- Setup our backend’s iMessage account as a contact in the user’s phone.
- Verify the user’s iMessage number and uniquely link it to their account.
- Set the personality of the chatbot from a list of emoji personalities 😜😋😍.
We had individual sheets for each item, and a unified onboarding view to do all three at once. In addition to the setup actions, we also let users check their credit balance and spending history, look at any images/stickers they made, and purchase more credits.
- The iMessage Extension App was where I spent most of my development effort. The basic setup when using
MSMessagesAppViewControllerwith SwiftUI is:
1
2
3
4
5
6
7
8
9
10
11
12
13
14
15
16
17
18
19
20
21
22
23
24
25
26
27
28
29
30
31
32
33
34
35
36
37
38
39
class aiMessagesViewController: MSMessagesAppViewController {
    // Setup all of the `ObservableObjects`
    @ObservedObject var exampleManager = ExampleManager()

    override func viewDidLoad() {
        // Initialize connections to backend services
    }

    /// - Tag: PresentViewController
    private func presentViewController() {

        let rootView = iMessageView()
            .environmentObject(exampleManager)
            // Add in all the managers here

        // Setup a View Controller and push it to the view stack.
        let controller: UIViewController = UIHostingController(rootView: rootView)

        addChild(controller)
        controller.view.frame = view.bounds
        controller.view.translatesAutoresizingMaskIntoConstraints = false
        view.addSubview(controller.view)
        NSLayoutConstraint.activate([
            controller.view.leftAnchor.constraint(equalTo: view.leftAnchor),
            controller.view.rightAnchor.constraint(equalTo: view.rightAnchor),
            controller.view.topAnchor.constraint(equalTo: view.topAnchor),
            controller.view.bottomAnchor.constraint(equalTo: view.bottomAnchor)
            ])
        controller.didMove(toParent: self)
    }

    private func removeAllChildViewControllers() {
        for child in children {
            child.willMove(toParent: nil)
            child.view.removeFromSuperview()
            child.removeFromParent()
        }
    }
}
I cannot stress this enough, do not put more logic in aiMessagesViewController! Try to do as much logic in the SwiftUI view itself. Then, use the willBecomeActive and willTransition delegate methods to cleanly re-present views according to the transition context. I even went as far as creating an ObservableObject just to track the state inside these delegate method transitions:
1
2
3
4
5
6
7
class MessagesManager: ObservableObject {
    @Published var messagePhase: iMessagePhase = .compact
    @Published var presentationStyle: MSMessagesAppPresentationStyle? = .compact
    @Published var skipToConversationLoad: Bool = true

    weak var vc: MSMessagesAppViewController? = nil
}
Initially, I was trying to manage this in aiMessagesViewController and as the user transitions between the compact and extended layouts, MSMessagesAppViewController will automatically rerender itself, removing any UIViewController you may have attached. This caused all kinds of headaches like data not persisting, awkward view transitions, and the dreaded view not updating automatically. It is so much cleaner to treat the state provided by MSMessagesAppViewController as just another ObservableObject and update the state of the Extension App with SwiftUI.
Once in SwiftUI, the rest seemed to fall into place:
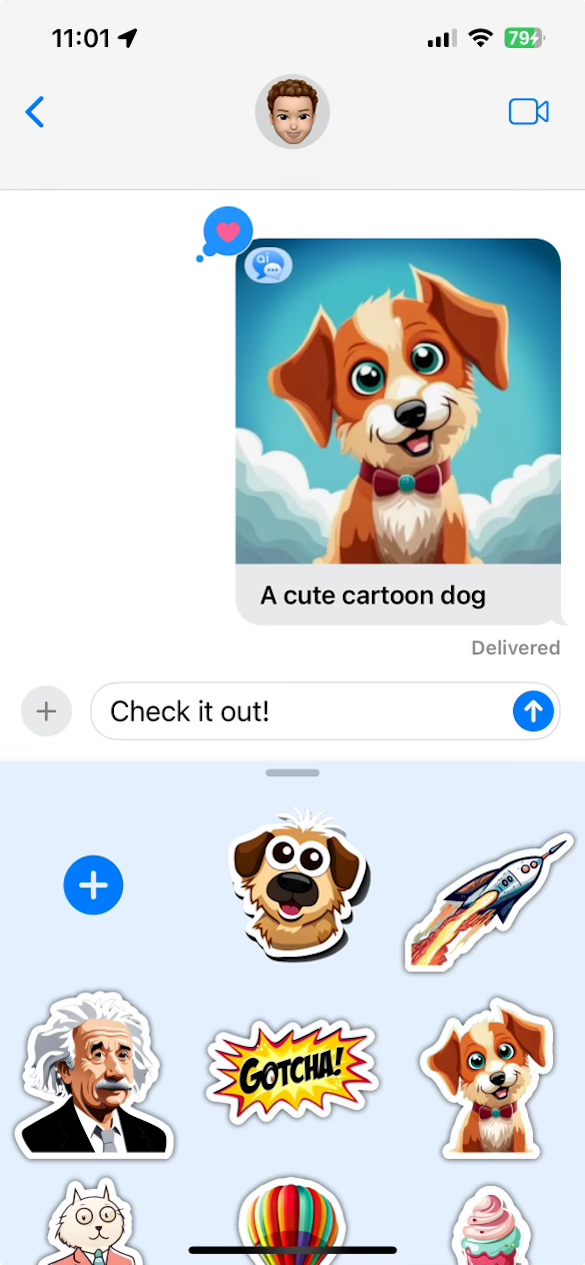
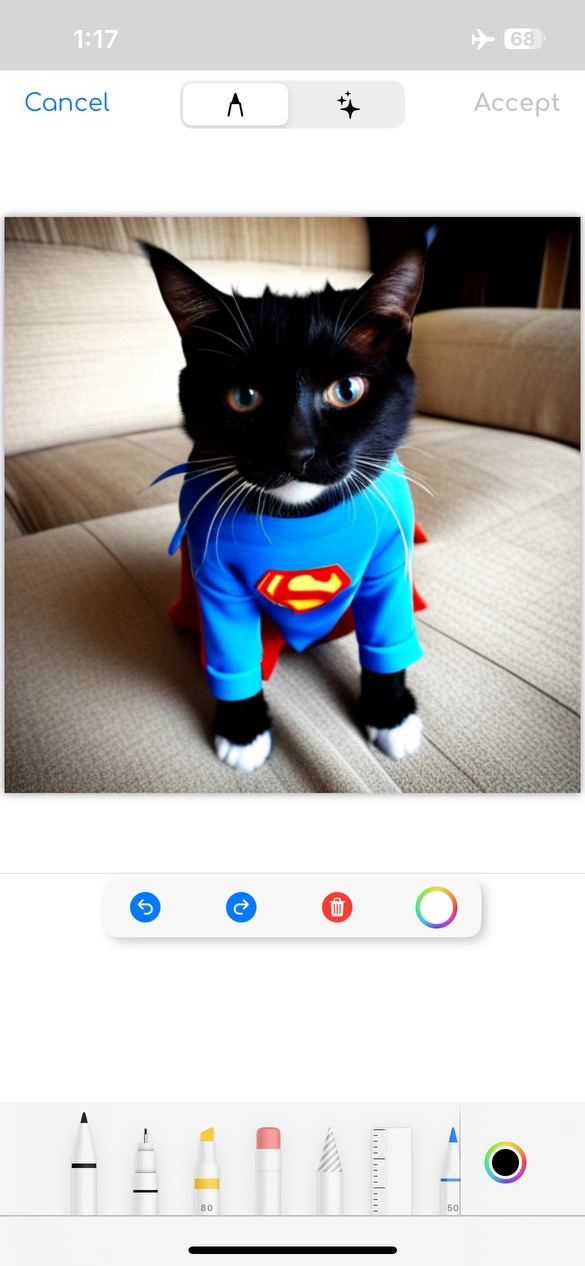
- I created a
StickerBrowserViewControllerconforming toMSStickerBrowserViewControllerto manage saving and loading stickers on the users device. - I created an image history using Kingfisher’s
KingfisherManager.shared.retrieveImageAPI from our backend service. - I used & extended
PencilKitto offer image editing and custom masking tools to guide Generative AI edits:
| Image Editing | Image Masking |
|---|---|
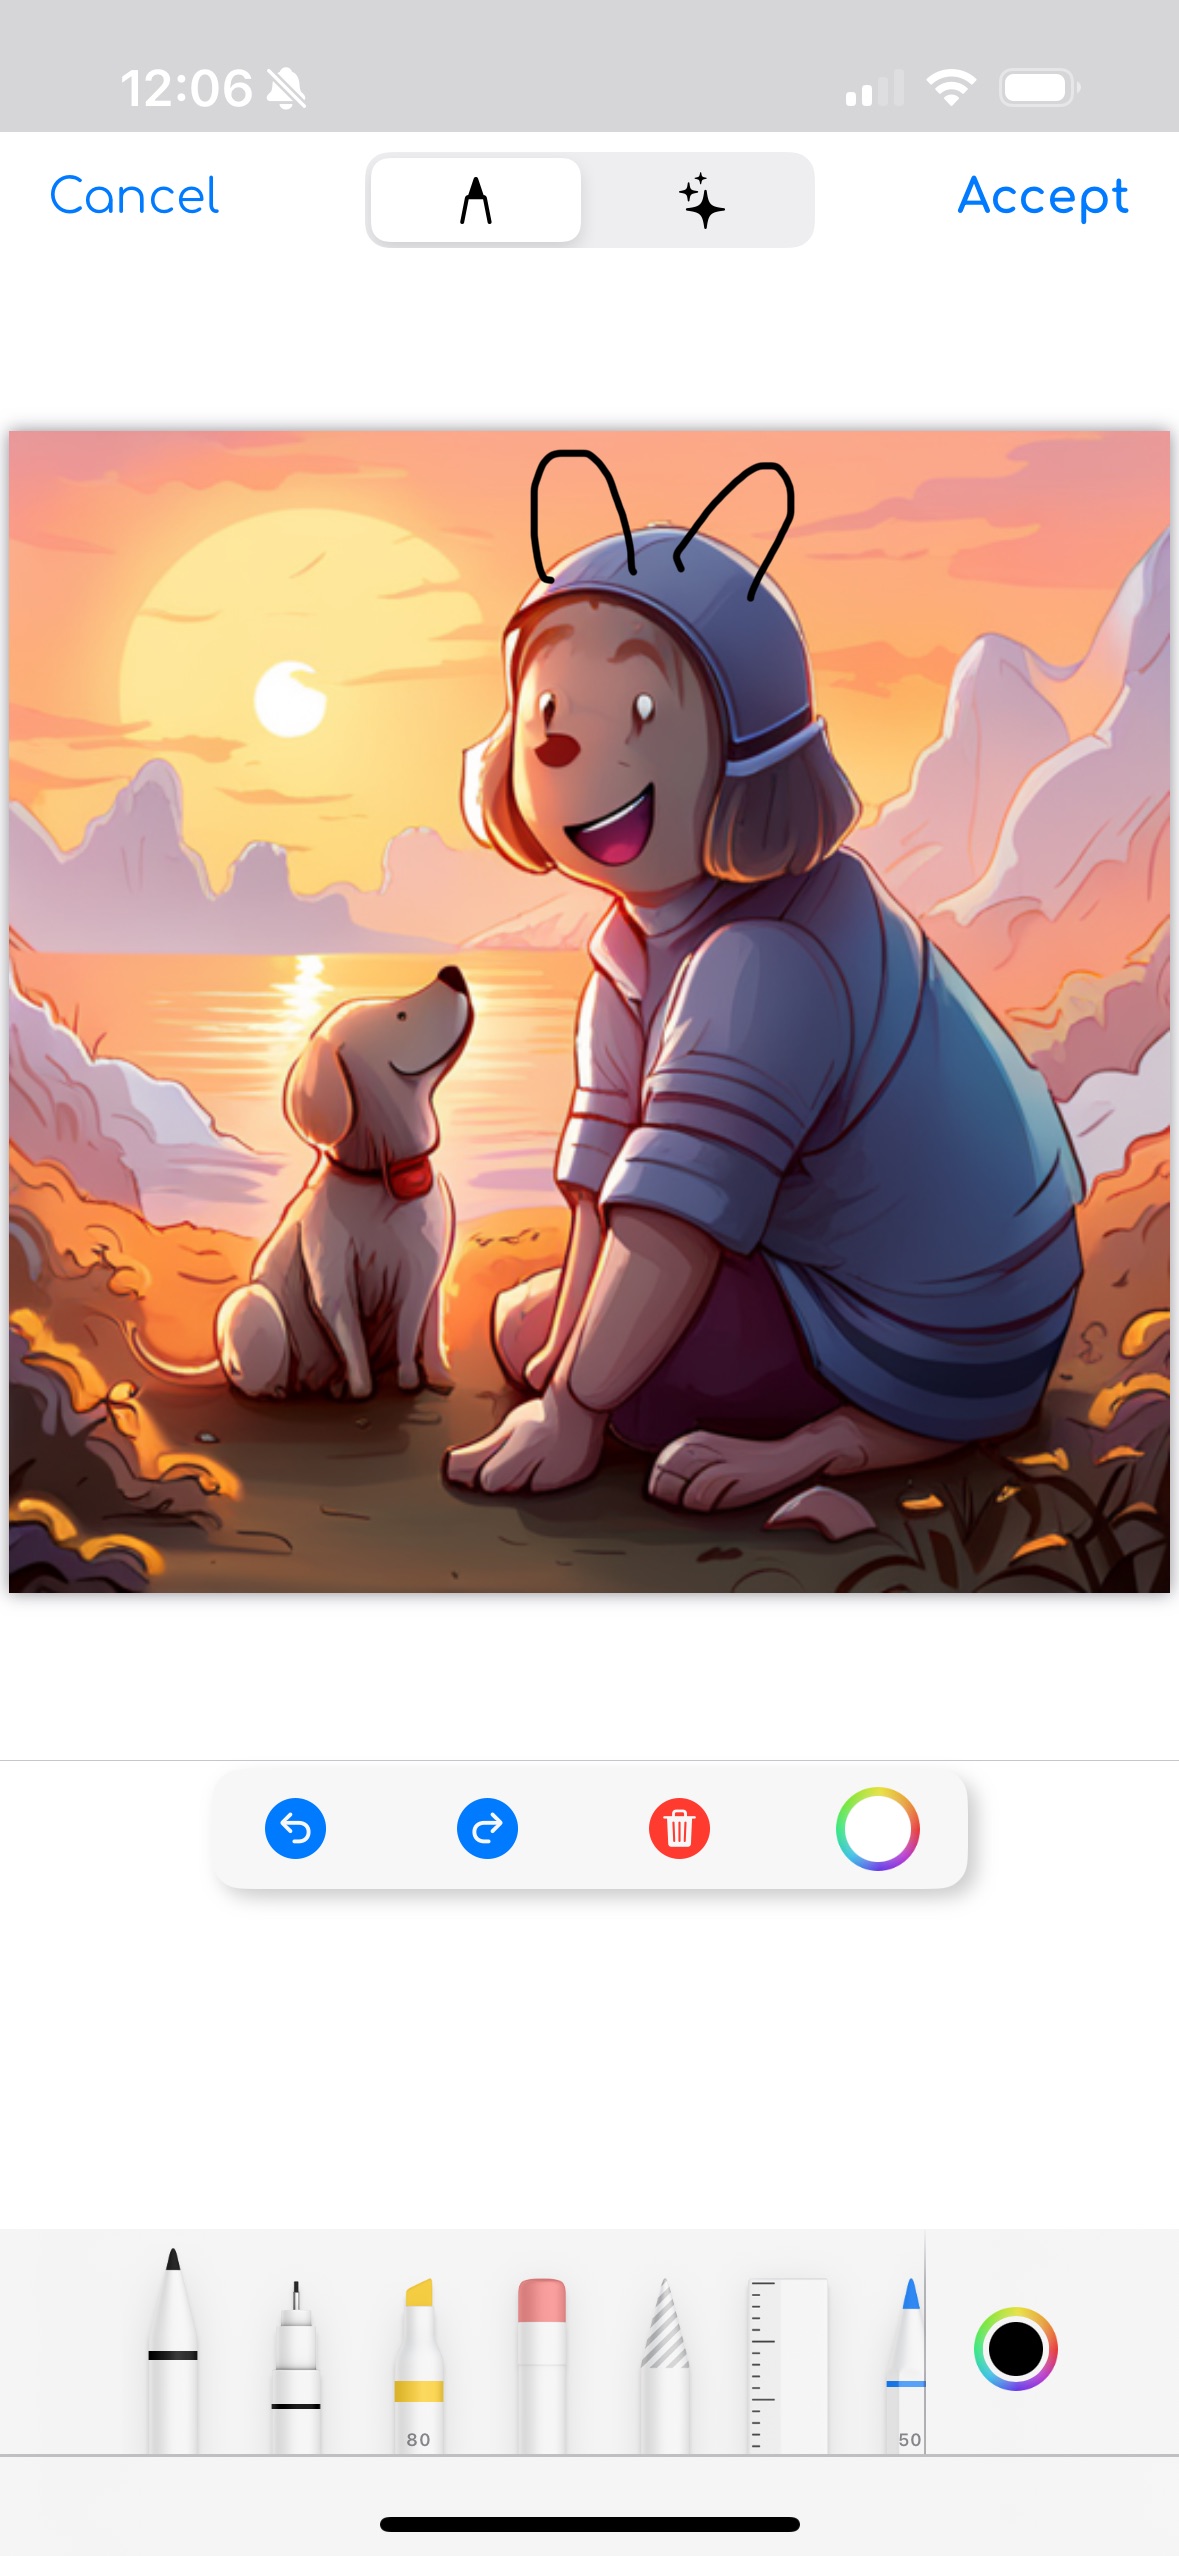 | 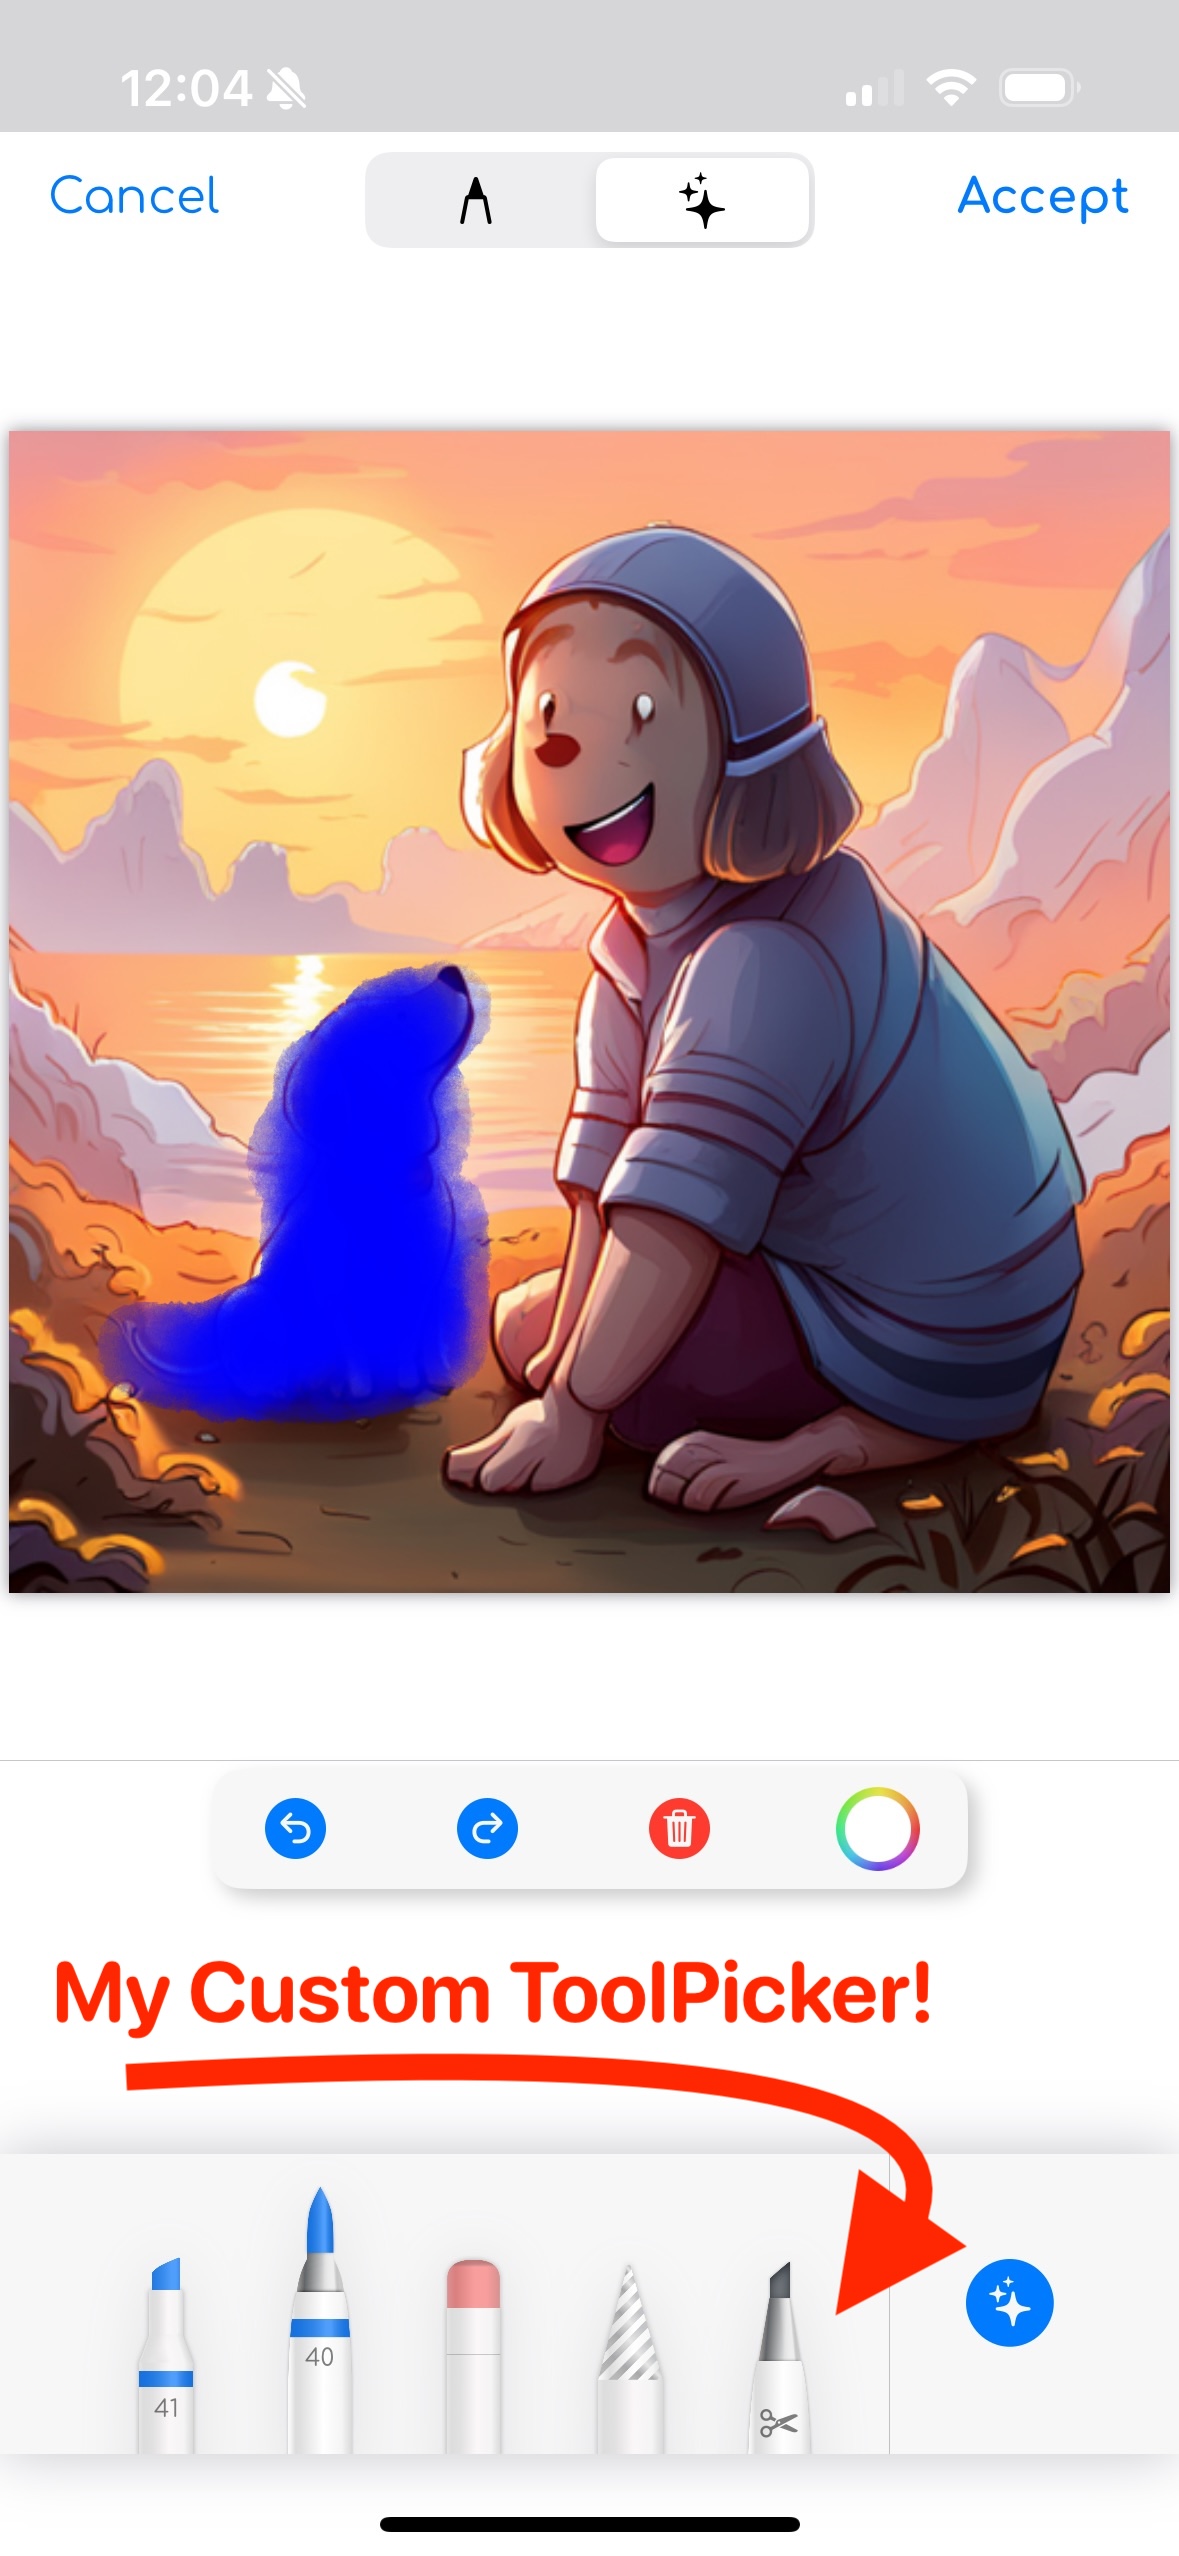 |
- I took advantage of iOS 17’s
VNGenerateForegroundInstanceMaskRequestto “lift” subjects out of the foreground for image editing and sticker generation. - I even created a
Trieclass to quickly find images inside the user’s history from a keyword search:
1
2
3
4
5
6
7
8
9
10
11
12
13
14
15
16
17
18
19
20
21
22
23
24
25
26
27
28
29
30
31
32
33
34
35
36
37
38
39
40
41
42
43
44
45
46
47
48
49
50
51
52
53
54
55
56
57
58
import Foundation

class TrieNode {
    var children: [Character: TrieNode] = [:]
    var frequency: Int = 0
}

class Trie {
    private var root: TrieNode = TrieNode()

    public func insert(_ word: String) {
        var currentNode = root

        for char in word {
            if currentNode.children[char] == nil {
                currentNode.children[char] = TrieNode()
            }
            currentNode = currentNode.children[char]!
        }

        currentNode.frequency += 1
    }

    struct TrieSearch: Hashable {
        let keyword: String
        let frequency: Int
    }

    public func search(_ keyword: String) -> [TrieSearch] {
        var currentNode: TrieNode? = root

        for char in keyword {
            if currentNode?.children[char] == nil {
                return []
            }
            currentNode = currentNode?.children[char]!
        }

        return findWords(from: currentNode, prefix: keyword)
            .sorted(by: { $0.frequency > $1.frequency })
    }

    private func findWords(from node: TrieNode?, prefix: String) -> [TrieSearch] {
        var results: [TrieSearch] = []
        guard let node = node else { return results}

        if node.frequency > 0 {
            results.append(TrieSearch(keyword: prefix, frequency: node.frequency))
        }

        for (char, child) in node.children {
            let word = prefix + String(char)
            results += findWords(from: child, prefix: word)
        }

        return results
    }
}
Lowlights
As you can tell, @Luke Carani and I had a ton of fun making this. But, at the end of the day, we mostly made this App for the fun of making the App. We did have more total downloads than we anticipated (+2.5K and counting!), but the cost of our backend services eventually caught up with us so we decided to turn off the iMessaging feature. Keep in mind that we started this project before OpenAI even had a ChatGPT App, so at the time, this seemed like a glaring opportunity.
We did still keep the image/sticker generation around since the upkeep costs are much lower, but this required us to refactor the App several times to deprecate code. And this exposed the real lowlight of the project… putting up with App Store Connect. I could probably write an entire blog post on the dismal state of Apple’s support of their developers, but suffice it to say that it is not easy to simply change binary targets after an App has been launched. And with minimal vague documentation and an outdated WebUI, you are left doing trial and error until something magically works. Apple’s scrutiny of our App updates also took alot of the fun out of developing, and turned it into a bureaucratic back and forth with probably some automated review process designed to minimize risk and maximize Apple’s profits.
Wrap Up
Swift
I definitely learned a ton from Swift and SwiftUI and give it a 5/5 star review. It is a very modern language that brought my coding to a new level. I honestly feel like a better Python developers having seen concepts like Enum, nil coalescing, @escaping closures, DispatchQueue’s, UIKit’s delegation pattern, Model-View-ViewModel (MVVM), publishers, Protocol’s and more. I am looking forward to using Chris Lattner’s Mojo to bring my Swift experience to Python & AI and actually see performance improvements (instead of Python’s fake type-stubs). It is also very enjoyable to see people use the code I write for once, and not just have it sit in the dark corners of my github. SwiftUI makes it super fast to iterate on ideas and you feel like you can make a beautiful and modern UI with very little effort, almost like specifying a .yaml file with custom functions.
iOS Development
Will I continue iOS development? Probably not. It is a massive time commitment as a hobby and as a business venture, you end up feeling like cheap labor subject to Apple’s wants and whims. For Apple’s developer experience, I give it a 2/5 star review, it works, but you will probably suffer through the process. If I were to get back into mobile development, I would probably look into flutter and consider shipping an App to the Google Playstore along with Apple’s App Store. Flutter can also make web and desktop apps, which seems like an interesting thing to play with.